How to Change Video Quality on iPhone After Recording Free [4 Ways]
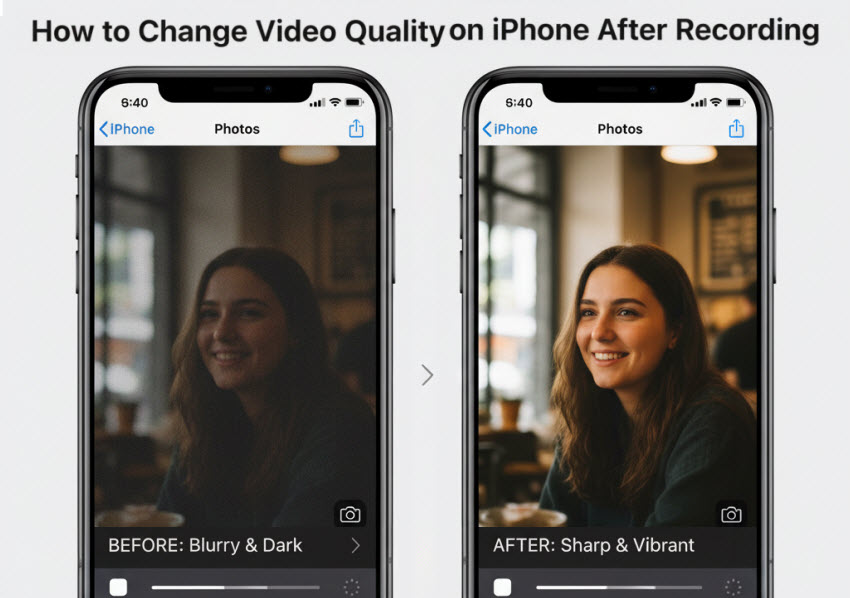
iPhone has been the go-to device for recording videos. However, you can’t always get the perfect shot every time. Sometimes, you may often find yourself in a situation where you need to improve an iPhone video's quality after it has already been recorded. Maybe it’s too grainy, or the resolution is too low, or perhaps you want smoother motion. You’re asking: how to change video quality on iPhone after recording.
In this post, we will show you how to change video quality on iPhone after recording free using different ways, from the basic, built-in apps to powerful third-party tools, and finally, professional desktop software that offers the ultimate solution for preserving and enhancing video quality.
[4 Ways] How to Change Video Quality on iPhone After Recording?
Recording a video on your iPhone is just the first step—sometimes the footage doesn’t come out as sharp or clear as you’d like. The good news is that even after you’ve recorded, there are several ways to adjust the iPhone video quality to make it look more polished, crisp, or optimized for sharing.
1. How to Improve Video Quality on iPhone using Photos App
If you want to change video quality on iPhone after recording without downloading anything, iPhone's native Photos app are a good starting place. It lets you make basic, but effective, quality adjustments that can improve the iPhone video quality. Follow steps below on how to increase video quality on iPhone after recording fast and easily.
Step 1. Open the Photos app on your iPhone and find the video you want to edit in the library.
Step 2. Tap the Edit button in the top-right corner of the screen. This will bring up the built-in video editor.
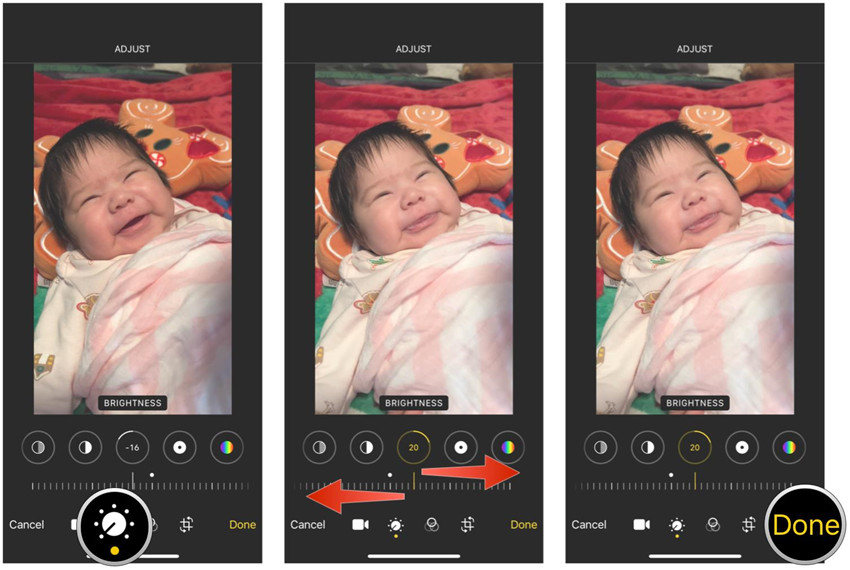
Step 3. In the bottom menu, you'll see a row of icons. The first icon, an analog dial, is your main tool for adjustments. Tap it to reveal a list of options. Adjust the key settings below using the slider for each to make your video look better, such as exposure, highlights, contrast, brightness, saturation, shadows, etc. You can also sharpen the iPhone video quality after recording.
Step 4. Once you're satisfied with your adjustments, tap Done in the bottom-right corner. The Photos app will save a new, enhanced version of the video. The original will remain untouched, so you can always revert to it if needed.
2. How to Change Video Quality on iPhone using iMovie
Apple’s built-in editing app iMovie offers various options to change the quality of a video already recorded on your iPhone. You can not only edit your clips—such as trimming, adding filters, or adjusting colors—but also change the resolution and quality of your video before exporting it. Whether you want to reduce the file size for easier sharing or maximize clarity for platforms like YouTube, Instagram, or TikTok, iMovie gives you full control over how your video looks.
Here’s a step-by-step guide to changing video quality on iPhone after recording using iMovie:
Step 1. Open iMovie on your iPhone, create a new project, and import your video.
Step 2. Use the adjustment tools to tweak brightness, contrast, and colors to improve the iPhone video quality. You can also apply filters to enhance the mood, colors, or clarity.
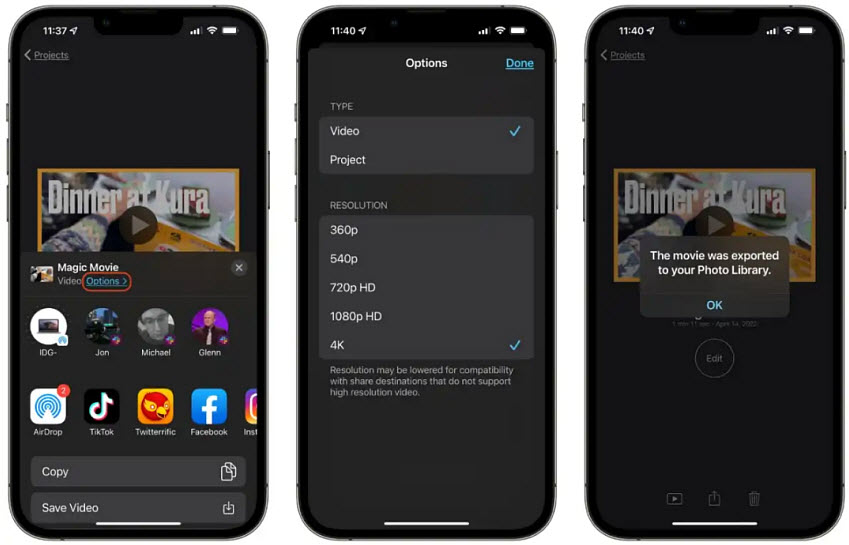
Step 3. After edits, tap the Share icon (a square with an upward arrow) and select Save Video. Then you can change the recorded iPhone video quality to various resolutions (e.g., 720p, 1080p, or 4K). Choose a resolution that you want (iMovie doesn’t support AI uspcaling so if you change the iPhone video quality to a higher resolution, it may introduce artifacts.).
For those seeking to lower the quality of an already recorded iPhone video to save file space, select a lower resolution like 720P.
3. How to Change Video Quality on iPhone using Third-party Apps
For more advanced controls, filters, and enhancements, you need to turn to a third-party app from the App Store. These apps often provide more precise sliders and professional-grade tools for a more significant iPhone video quality enhancement. For example, CapCut is a very popular video editing app as it’s a completely free video editor that offers an impressive range of professional features.
Here's a step-by-step guide on how to improve iPhone video quality with CapCut:
Step 1. Download and open the CapCut app. Tap New Project and import the video you want to improve.
Step 2. With the video clip selected on the timeline, swipe the bottom menu bar to the right and tap the Adjust button. Then use the key sliders to focus on for quality enhancement like Brightness, Contrast, Saturation, Sharpen, Highlight & Shadow.
Step 3. You can also add a subtle effect to further improve quality of an iPhone video after recording: tap Effects in the bottom menu and select Video Effects. Go to the Lens category and select Smart Sharpen. This effect can further enhance the details. You can also explore the HDR or HDR effect in the "Stylize" category to give your video a more professional, vivid look
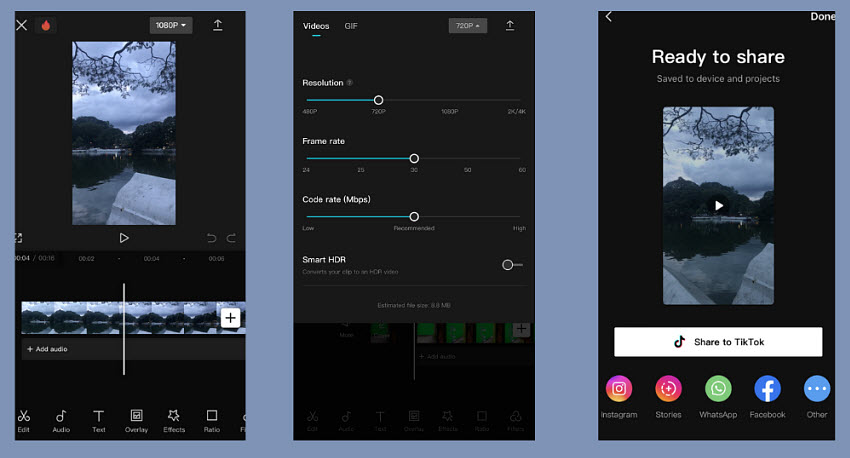
Step 4. Before exporting, tap the resolution settings at the top of the screen to change the video quality on iPhone. You can choose a higher resolution and a higher frame rate. However, since CapCut's video upscaler isn't powered by AI, you should avoid going too high to prevent a loss in quality.
4. How to Improve Video Quality on iPhone using AI
For those who are serious about changing a recorded iPhone video quality with best results, or need to transform footage that is heavily pixelated, grainy, or blurry, mobile apps simply aren't enough. This is where a professional, desktop-based AI tool comes in. Aiarty Video Enhancer is one such solution that offers a level of iPhone video quality enhancement that is impossible to achieve on a phone.
How Aiarty changes video quality on iPhone after recording with high-quality results:
- True AI Upscaling to 4K/8K: Unlike a phone app that simply resizes a video, Aiarty intelligently analyzes the content of the iPhone video and generates new detail, effectively upscaling a recorded iPhone video to HD and 4K with natural details.
- Remove video artifacts: When changing iPhone video quality to different resolutions, it uses deep learning to intelligently remove video noise, grain, blur, pixelated issues while preserving intricate details.
- Correct colors: Adjust the Brightness, Contrast, Saturation, Sharpen, Highlight & Shadow of the iPhone video to further improve the iPhone video quality.
- Boost fps: Aiarty can intelligently increase fps (frames per second), making choppy or stuttered iPhone recordings play back smoothly with natural motion.
How to Improve iPhone Video Quality After Recording Using Aiarty?
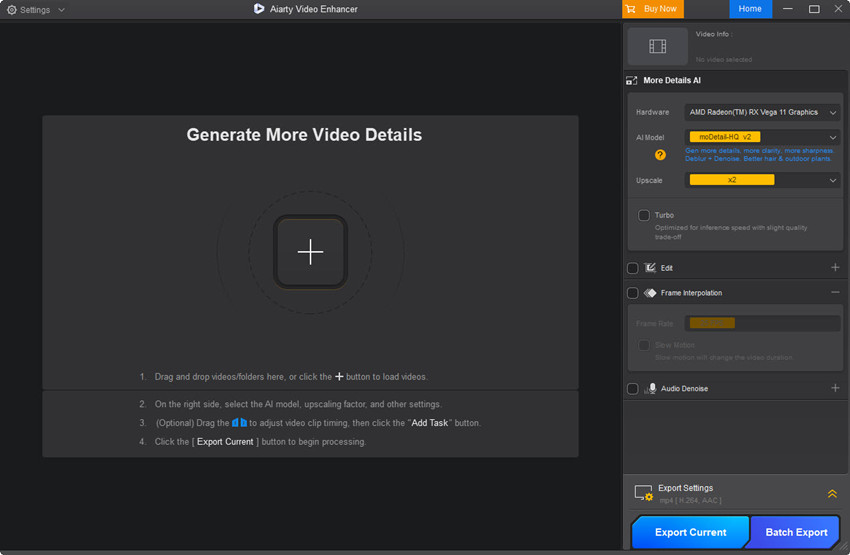
Step 1. Download Aiarty Video Enhancer and open it. Transfer the video onto your computer (via AirDrop, iCloud, or cable) and import your iPhone video to it.
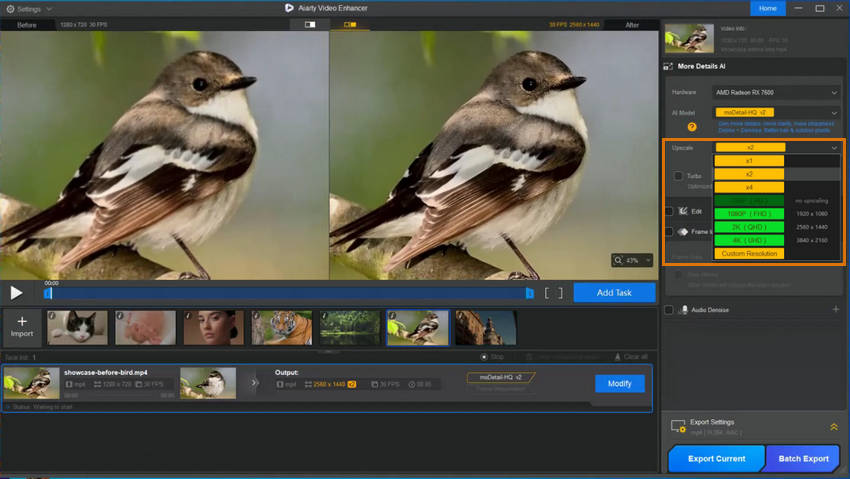
Step 2. Select an AI model — the default moDetail works best for most videos. Then select an upscaling factor to change the iPhone video quality to 1080P, 2K, or 4K.
Step 3. Go to Edit if you’d like to adjust the video size or aspect ratio. Then enable the Color option to fine-tune brightness, contrast, and saturation for more vibrant, balanced enhanced iPhone video quality.
Step 4. If your source video feels choppy or laggy, activate Frame Interpolation to smooth playback and achieve a natural frame rate.
Step 5. Finally, hit Export Current or Batch Export to save your enhanced iPhone videos. Aiarty uses GPU acceleration, so the process is fast and efficient — leaving you with a high-quality, polished iPhone video ready to share.

Conclusion
Changing video quality on an iPhone after recording isn’t limited to just one method. For quick edits, the Photos app and iMovie give you basic control over trimming, exposure, and resolution. If you want more flexibility, third-party apps provide additional filters and export options. But when your goal is to truly enhance video quality—whether it’s fixing blurry footage, upscaling to 4K, or correcting colors—an AI-powered tool like Aiarty Video Enhancer makes a noticeable difference by adding real detail and restoring clarity.
 FAQs
FAQs
Yes, you can significantly enhance its perceived quality of a recorded iPhone video by adjusting brightness, contrast, and color, or by sharpening the image to make it look clearer. In addition, if you want to change the iPhone video’s quality to a higher resolution, e.g., a 1080p video to 4K, some AI tools can help, such as Aiarty Video Enhancer.
Yes, absolutely. iPhone's built-in Photos app contain a sharpen filter to sharpen a blurry video to some extent. However, advanced AI software is far more effective at intelligently removing blur without adding pixelation. For truly unusable, blurry footage, a powerful AI tool like Aiarty Video Enhancer can perform a more sophisticated analysis to recover lost details.
Yes, you can enhance a recorded video on iPhone through various editing techniques. This includes adjusting exposure to brighten a dark video, increasing saturation to make colors more vibrant, and applying sharpening filters. You can achieve this using the iPhone's built-in Photos app for simple edits or a third-party app like CapCut for more advanced controls.
Converting a video to HD quality on an iPhone is primarily about upscaling. While most iPhone apps can resize your video to an HD frame, they often just stretch the pixels, which can reduce quality. For a true conversion, you need a powerful upscaling tool. An advanced AI-powered desktop solution like Aiarty Video Enhancer can intelligently analyze your footage and rebuild it with a higher resolution, effectively converting your iPhone video to HD or even 4K quality.
Yes, you can easily lower the quality of a video after it has been recorded. This is typically done to save storage space or make the video easier to share. In any video editing app, during the export or save process, you will be able to select a lower resolution (e.g., from 4K to 1080p or 720p) and a lower bitrate, which will reduce the final file size.
You May Also Like
This post was written by Brenda Peng who is a seasoned editor at Digiarty Software who loves turning ordinary photos into extraordinary works of art. With AI assistance for brainstorming and drafting, the post is reviewed for accuracy by our expert Abby Poole for her expertise in this field.