


GIMP and Krita are two of the strongest free and open-source graphics programs, but they are built around different creative workflows. GIMP is primarily an image editor for retouching, background removal, compositing, and web graphics. Krita is primarily a digital art studio for painting, illustration, comics, pen tablets, and frame-by-frame animation.
The practical difference is straightforward: choose GIMP when you begin with an existing photo or graphic that needs editing; choose Krita when you begin with a blank canvas and want to draw or paint. If a project combines photography and illustration, installing both is often more useful than trying to make one application handle every stage.
This comparison reflects the current GIMP 3.2 and Krita 5.3/6.0 generation, including GIMP's newer non-destructive layer effects and Krita's rewritten text workflow. Exact speed and memory use still depend on the file, hardware, operating system, brushes, filters, and layer stack, so this article avoids unsupported benchmark claims.
GIMP vs Krita: Quick Verdict
GIMP is better for photo editing and image manipulation. Krita is better for drawing, painting, comics, and animation. Neither is an overall replacement for the other because their strongest tools solve different problems.
What Changed in GIMP and Krita in 2026?
Many older GIMP vs Krita comparisons are now incomplete. GIMP's editing workflow became more flexible with the GIMP 3 generation, while Krita's text system received a major overhaul in the 5.3/6.0 generation.
GIMP 3.2: More Non-Destructive Editing
GIMP 3 applies supported GEGL filters as editable layer effects by default. You can return to the filter, change its settings, hide it, reorder it, copy it, or remove it instead of permanently baking every adjustment into the layer. GIMP 3.2 also expands the newer layer workflow with vector and link layers and continued interface refinements.
These changes make GIMP more modern, but they do not make every operation non-destructive. Some tools still alter raster pixels directly, complex effect stacks can require more processing, and application-specific effects may be flattened or changed when exporting to another format.
Official reference: GIMP 3.2 Release Notes and GIMP Layer Effects documentation.
Krita 5.3/6.0: A Rewritten Text Workflow
Krita 5.3 and 6.0 share the same application code, with different Qt builds. This generation introduces a rewritten text system with on-canvas editing, better OpenType support, text wrapping, text inside shapes, and text flowing along paths. That makes Krita more practical for comics, posters, illustrated social graphics, and artwork that combines drawing with typography.
Official reference: Krita 5.3 and 6.0 Release Notes.
GIMP vs Krita: Detailed Feature Comparison
GIMP vs Krita for Photo Editing
Winner: GIMP
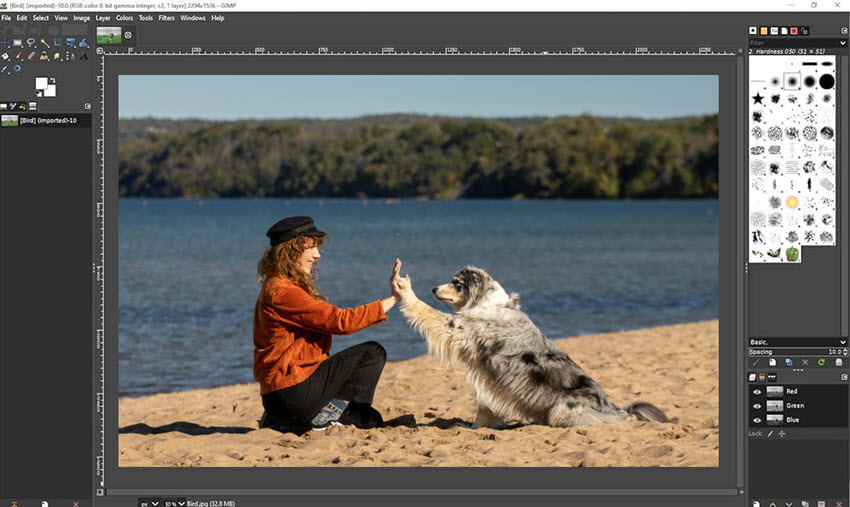
GIMP, short for GNU Image Manipulation Program, is built around modifying existing raster images. Its selections, paths, channels, layer masks, curves, levels, clone tool, healing tool, transforms, filters, and blending controls are more naturally arranged for retouching and compositing.
GIMP is generally the more efficient choice for:
- Portrait and product-photo retouching
- Background removal and subject cutouts
- Removing objects or repairing damaged areas
- Exposure, contrast, white-balance, and color corrections
- Combining multiple photographs into one composition
- Preparing banners, web graphics, screenshots, and photo-based thumbnails
- Resizing, cropping, converting, and exporting images
Krita can crop, transform, mask, filter, and adjust a photograph, but its interface is centered on adding brushwork to a canvas. It is well suited to paint-overs, matte painting, illustrated portraits, and adding drawn elements to a photo. For detailed retouching and repeated image-manipulation tasks, GIMP usually requires fewer workarounds.
Also see: How to Use GIMP to Edit Photos >>
GIMP vs Krita for Drawing and Digital Painting
Winner: Krita
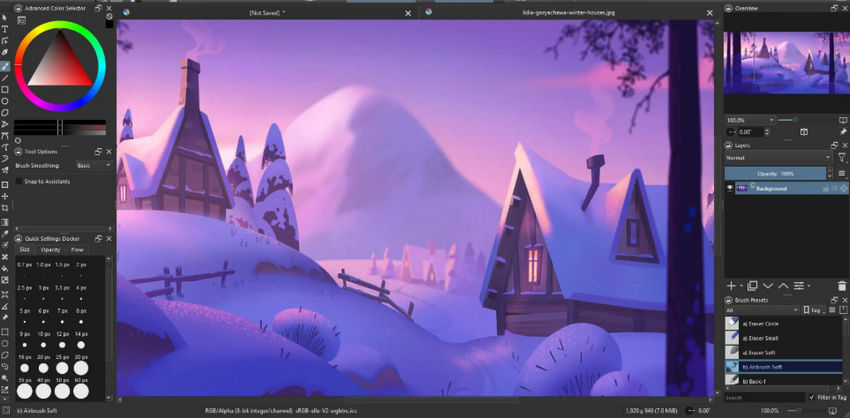
Krita is designed for digital painting and illustration. Its brush engines, pressure settings, stabilizers, drawing assistants, canvas rotation, wrap-around mode, reference images, pop-up palette, symmetry tools, and artist-focused workspaces reduce friction when drawing from scratch.
Krita is generally the better choice for:
- Digital painting and concept art
- Line art, inking, comics, and manga
- Character illustration and storyboards
- Texture painting and seamless patterns
- Painting over photographs or 3D renders
- Creating art with a pressure-sensitive pen tablet
GIMP also supports brushes and tablets, and it is useful for masking, dodge-and-burn work, and occasional painting. The difference is not that GIMP cannot draw. The difference is that Krita's shortcuts, brush controls, assistants, and canvas behavior were designed around an artist holding a stylus.
Which Is Better for a Drawing Tablet?
Krita is the stronger default choice. It supports pressure-sensitive input and tablet workflows across its brush system, while features such as brush smoothing, stabilizers, the pop-up palette, canvas-only mode, and drawing assistants make it easier to work without repeatedly returning to menus.
Layers, Masks, and Non-Destructive Editing
This category is more competitive than it was in older versions.
GIMP Layer Workflow
GIMP supports raster layers, text layers, vector layers, link layers, layer groups, layer masks, channels, blending modes, and editable layer effects for supported filters. The new effect workflow is especially useful when you expect to revisit blur, sharpening, color, or other filter settings later.
GIMP remains strongest when those layers are part of a photo-retouching or image-compositing project. However, not every tool works as a live effect, and exported files may not retain GIMP-specific effects in editable form.
Krita Layer Workflow
Krita supports paint layers, vector layers, group layers, file layers, clone layers, filter layers, filter masks, transparency masks, transform masks, and local selection masks. Filter and transform masks allow users to adjust an image without permanently changing the original paint layer.
For illustration, experimental compositing, and projects with many editable variations, Krita's range of specialized layer and mask types is particularly useful. For traditional photo retouching, GIMP's selection and correction tools are often more direct.
Official reference: Krita Layers and Masks.
Text, Posters, Thumbnails, and Graphic Design
There is no universal winner in this category. The better program depends on whether the design begins with photography or illustration.
Krita's rewritten 5.3/6.0 text system makes it much more capable than older comparisons suggest. GIMP still has the advantage when typography is part of a photo-editing workflow. Neither program is a complete replacement for dedicated vector or page-layout software when a project requires complex logos, multi-page documents, or production typography.
GIMP vs Krita for Animation
Winner: Krita for hand-drawn animation
Krita includes an animation timeline, keyframes, playback controls, frame management, multiple animated layers, and onion skinning. This lets artists draw neighboring frames while seeing tinted previews of the previous and next frames.
GIMP can create simple frame-based GIFs by treating layers as frames. That is useful for short loops, banners, and reaction graphics, but GIMP does not provide the same timeline-centered drawing workflow.
Choose Krita for frame-by-frame 2D animation. Choose GIMP when you only need to assemble or edit a basic animated GIF.
Official reference: Animation with Krita.
File Formats, PSD Compatibility, and RAW Photos
Both applications open common formats such as JPEG, PNG, TIFF, WebP, BMP, and PSD. Their native editable project formats are:
- GIMP: XCF
- Krita: KRA
Keep an XCF or KRA master file even when the final delivery format must be PSD. PSD was created for Photoshop rather than as a universal interchange format, so complex text, masks, blending behavior, smart objects, and application-specific effects may not transfer perfectly.
For layered raster artwork moving between open-source applications, OpenRaster (ORA) may be a safer interchange option in some workflows. It was designed specifically as an open layered-raster exchange format.
Which Is Better for RAW Photos?
Neither GIMP nor Krita should be the only application in a serious RAW workflow. Develop the camera file first in darktable, RawTherapee, Lightroom, Capture One, or another RAW processor. Then export a high-bit-depth TIFF and continue in GIMP for retouching or in Krita for paint-over and illustration.
GIMP can integrate with external RAW developers, but it is still helpful to think of RAW development and pixel editing as separate stages.
Color Depth, Color Management, and HDR
Both GIMP and Krita support high-bit-depth and floating-point workflows, color management, and professional image formats. Krita places particular emphasis on color-managed painting, multiple color models, OpenEXR, and HDR-oriented artwork. GIMP's color tools are closely tied to photo correction, compositing, filters, and output preparation.
For mainstream photo editing, web graphics, and print preparation, both applications provide more color precision than most casual users need. Krita is the more natural fit for artists working with HDR painting or color-managed concept-art pipelines. GIMP is the more natural fit for photographers applying targeted tonal and color corrections to existing images.
GIMP vs Krita: Performance, Requirements, and Low-End PCs
There is no reliable universal answer to “Which is faster?” without testing the same hardware, operating system, files, brushes, filters, and export settings. Startup time alone is also a weak benchmark because the heavier part of a real workflow may be brush rendering, filter recalculation, memory pressure, or export.
For a low-end computer, start with the program that matches the task, then keep the canvas and layer stack realistic. Reduce unnecessary bit depth, close other memory-heavy applications, use simpler brushes, and test a representative file before committing to a large project.
Do not publish exact claims such as “GIMP is twice as fast” or “Krita always uses more RAM” unless the article includes a documented test system, repeated runs, identical files, and the actual results.
Official Krita requirements: Krita Download and System Requirements.
Plugins, Scripts, and Batch Processing
Winner: GIMP for automation and repetitive image processing
GIMP has a mature ecosystem of plug-ins, scripts, filters, and command-line workflows. It is better suited to jobs such as:
- Resizing a folder of images
- Converting large groups of files
- Applying repeated corrections
- Adding watermarks
- Preparing e-commerce images
- Exporting web assets in several sizes
- Extending the editor with specialized filters
Krita also supports Python plug-ins, resource bundles, brush packs, patterns, and G'MIC filters. Its ecosystem is especially useful for artists who want new brushes, workspaces, textures, and painting tools rather than large-scale image-processing automation.
Choose GIMP when the repeated task is “process many images.” Choose Krita when the goal is “expand how I create artwork.”
Which Is Easier for Beginners?
Both programs have a learning curve, but they feel difficult for different reasons.
GIMP can feel menu-heavy because important controls are distributed across tool options, dockers, context menus, and filter dialogs. Beginners coming from Photoshop may recognize the general photo-editing logic, although individual tools and shortcuts behave differently.
Krita often feels more immediate to someone who already draws: choose a brush, create a canvas, and begin painting. Its brush engines, masks, assistants, color options, and animation tools become more complex as the project grows.
- Editing an existing photo: start with GIMP.
- Drawing on a blank canvas: start with Krita.
- Developing a camera RAW file: start with a RAW processor.
- Creating quick template-based social graphics: a simpler layout tool may be faster.
Can You Use GIMP and Krita Together?
Yes. Their strengths complement each other, and a combined workflow can be faster than forcing one program to do everything.
Workflow 1: Photo to Digital Painting
- Correct exposure and remove unwanted elements in GIMP.
- Export a high-quality TIFF, PNG, or layered ORA file.
- Open the result in Krita.
- Add paint, textures, lighting, line art, or stylized effects.
- Export the finished artwork for print or the web.
Workflow 2: Illustration to Web Graphic
- Draw and color the artwork in Krita.
- Export a PNG, TIFF, or ORA copy.
- Open it in GIMP.
- Add photographic elements, make precise cutouts, resize versions, and optimize the final files.
Workflow 3: Comic or Illustrated Poster
- Create characters, backgrounds, and panels in Krita.
- Add and edit text with Krita's current text tools.
- Move the exported artwork to GIMP when you need detailed image cleanup, compositing, or multiple web-export sizes.
Application-specific effects may not transfer perfectly. Keep the original XCF and KRA files, and flatten only the copy intended for final output or cross-application exchange.
When GIMP or Krita Is Not the Fastest Way to Fix a Low-Quality Image
GIMP and Krita give you detailed creative control, but neither is designed specifically to reconstruct detail in a small, blurry, noisy, heavily compressed, or heavily cropped source image. Traditional resizing increases pixel dimensions, while manual denoising and sharpening may require several filters, masks, and rounds of adjustment.
A dedicated image enhancer can therefore serve as a preparation or finishing step rather than replacing either editor.
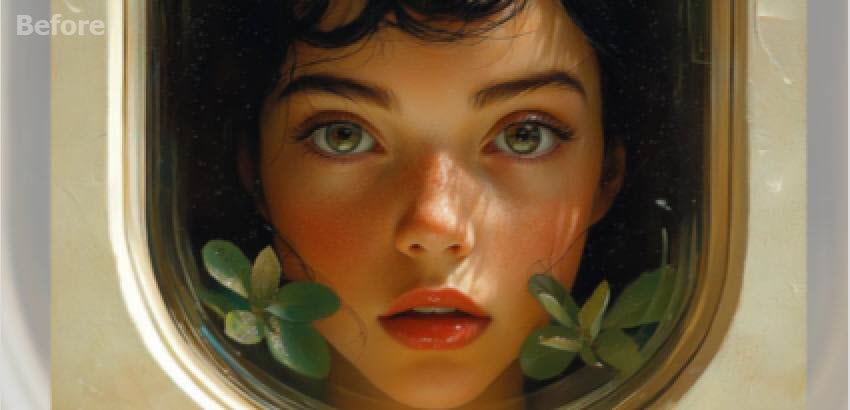
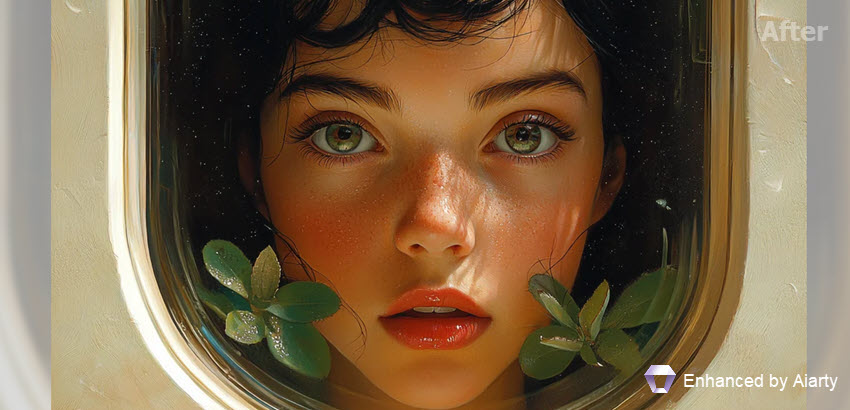
Aiarty Image Enhancer is a desktop tool for upscaling, denoising, deblurring, restoring portraits, and refining image detail. Its models cover real photography as well as AI-generated art, anime, line art, and smooth digital illustrations.
Before Editing in GIMP
- Import a soft, noisy, compressed, or low-resolution photo into Aiarty.
- Choose an enhancement model suited to real photography.
- Adjust the enhancement strength and preview important textures.
- Export the cleaner source image.
- Continue with masks, retouching, color correction, or compositing in GIMP.
After Finishing in Krita
- Complete the illustration in Krita and keep the original KRA project.
- Export a high-quality PNG or TIFF.
- Use a model intended for digital art, anime, or line art.
- Upscale the result for a larger screen, poster, print, or wallpaper.
- Inspect line edges and gradients at 100% before final export.
The roles remain different: GIMP edits and manipulates an image; Krita draws and paints an image; Aiarty improves the technical quality of the source or final raster output.

GIMP vs Krita: Final Verdict by Use Case
There is no overall winner because GIMP and Krita optimize different starting points.
Choose GIMP when you begin with an existing photograph or graphic and need to correct, select, cut out, repair, combine, resize, or export it.
Choose Krita when you begin with a blank canvas and need expressive brushes, pen control, drawing assistants, illustration tools, comics features, or frame-by-frame animation.
Install both when your work regularly moves between photography and digital art. They are free, their strengths complement each other, and using the right application for each stage is usually more efficient than forcing one program to cover the entire workflow.
 GIMP vs Krita FAQs
Yes, for most digital artists. Krita is built around painting and illustration, with more advanced brush engines, stabilizers, assistants, tablet controls, canvas shortcuts, and animation tools.
GIMP is generally better for detailed photo editing, retouching, background removal, selections, compositing, and batch image-processing tasks. Krita can edit photographs, but its workflow is centered on drawing and painting.
Krita can replace GIMP when the work mainly involves painting, comics, line art, concept art, or animation. It is less likely to replace GIMP for complex photo retouching, precise cutouts, and repetitive image processing.
GIMP can handle basic drawing and brushwork, but it does not provide the same artist-focused brush workflow, drawing assistants, canvas controls, or animation environment. Digital painters will usually be more productive in Krita.
Krita is often easier for someone who wants to begin drawing immediately. GIMP is the more logical starting point for a beginner who wants to edit photos. Both become more complex once projects involve advanced layers, masks, color management, or automation.
GIMP is usually the safer first test for straightforward photo editing on modest hardware. Krita can also run on lower-end systems, but large canvases, complex brushes, high bit depths, and animation frames may require more memory. Actual performance depends on the project and computer.
Both can open and export PSD files, but neither guarantees perfect compatibility with every Photoshop feature. Keep an editable XCF or KRA master and check text, masks, effects, and blending modes after transferring a PSD.
GIMP is usually better for thumbnails built from photos, cut-out subjects, screenshots, and composited assets. Krita is better for hand-drawn or heavily illustrated thumbnails.
Krita is generally better for comics because of its inking brushes, drawing assistants, page-oriented artwork workflow, animation tools, and improved text system.
Yes. Both are free and open-source applications. Optional paid store versions of Krita help fund development and may provide convenient store-based updates, but the program itself remains available for free.
You May Also Like


This post was written by Brenda Peng, a seasoned editor at Digiarty Software who focuses on practical image-editing workflows. With AI assistance for brainstorming and drafting, the article is reviewed for accuracy by our expert Abby Poole.
