


A pop-up flash can leave two bright red pupils in an otherwise good photograph. The quickest Lightroom red eye removal method depends on which app you're using. In Lightroom Classic, correct each eye in Develop. In Lightroom desktop for Mac and Windows, try Auto Correct first. On a phone or tablet, use a brush mask to tone down the reflection.
If you're unsure which desktop app you have, check whether it has a Develop module. That's Lightroom Classic. Here's a closer look at the differences between Lightroom and Lightroom Classic.
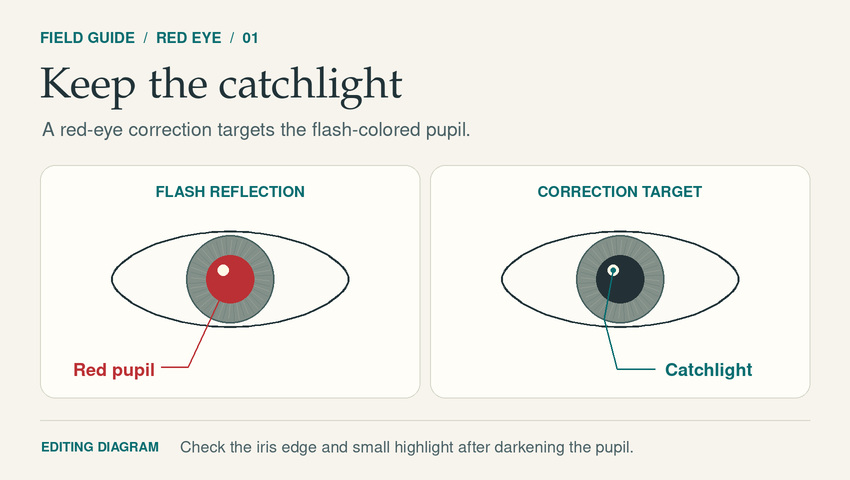
Editing diagram. Keep the flash catchlight and the edge of the iris when darkening the pupil.
How to Remove Red Eye in Lightroom Classic
Classic's Red Eye Correction tool lets you position and adjust the fix separately for each eye. That's handy when one pupil catches more of the flash or the subject is looking slightly to one side.
1. Open the photo in Develop and zoom in. In the tool strip below the histogram, click the eye icon for Red Eye Correction, then choose Red Eye.
2. Drag from the center of one eye. Start at the pupil and drag outward until the selection covers the whole eye. Lightroom uses the larger selection to find the pupil. If the selection lands off-center, drag it into place or pull its edge to resize it.
3. Refine Pupil Size and Darken. If a thin ring of red remains, check the placement first, then increase Pupil Size just enough to cover the ring. Use Darken to bring the pupil back to a believable tone. Check that the iris still has an edge and that the small highlight from the flash is still visible.
4. Repeat on the second eye and zoom out. Adjust the second pupil independently if it caught a different amount of flash. A correction that looks fine up close can read as two black dots when you return to the full portrait.
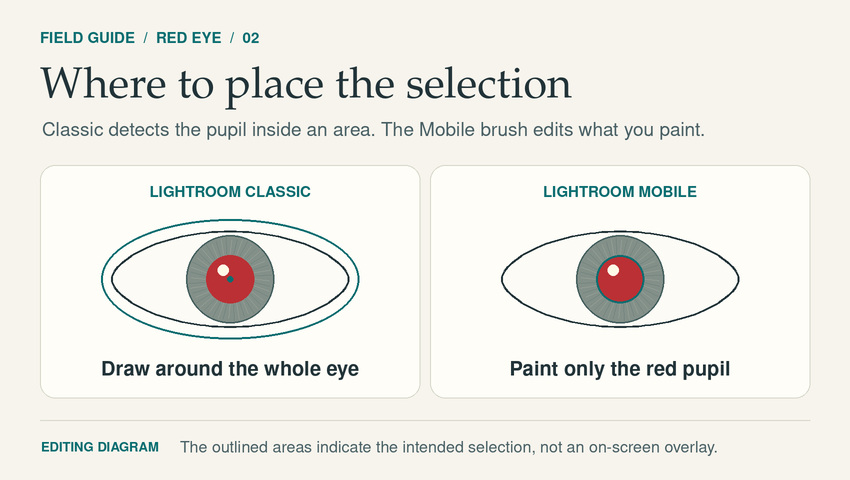
Editing diagram. Classic needs room to detect the pupil. The Mobile brush should stay inside the affected area.
How to Fix Red Eye Automatically in Lightroom Desktop
In the Lightroom app for Mac and Windows, open the photo, click Remove in the right-hand toolbar, choose the Red Eye icon, and click Auto Correct. Lightroom looks for red pupils across the photo in one pass. This is a good first step for a flash-lit group shot, where it's easy to miss someone in the back row.
Zoom in and check the faces after the automatic pass. If Lightroom fixes one eye and misses the other, stay in Red Eye and drag outward from the center of the missed eye to correct it manually. If an older tutorial sends you to Heal to find the eye icon, open Remove. That's the current name of the panel that contains the tool.
How to Remove Red Eye in Lightroom Mobile
On iPhone, iPad, or Android, you can tone down the flash reflection with a local Brush mask. Masking is a premium feature in Lightroom Mobile. The phone workflow calls for a smaller selection than Classic's dedicated tool because the adjustments affect the area you paint.
1. Pinch to zoom in, then choose Masking → Create New Mask → Brush. Use a small brush with a little feathering and paint over the red part of the pupil. Keep the brush inside the pupil edge and work around the white catchlight where possible.
2. Reduce Saturation in the mask's Color controls. Once the red is gone, check the pupil's brightness. If it looks like a pale gray spot, lower Exposure slightly under Light.
3. Clean up the edges and check at normal size. If the adjustment dulls the iris, use the mask's Subtract controls with the Brush to remove the spill. Make a separate mask for the second eye if it needs a different amount of correction.
How to Fix Green or Yellow Pet Eyes in Lightroom Classic
If flash gives a cat or dog a green or yellow glow in its pupils, open Develop → Red Eye Correction and choose Pet Eye. Start at the center of the reflection, drag outward over the eye, and check the edges before repeating on the other side. On a cat with narrow pupils, look closely at the corners of the correction so the glow goes away without swallowing the surrounding iris. Judge the result at normal viewing size as well as zoomed in.
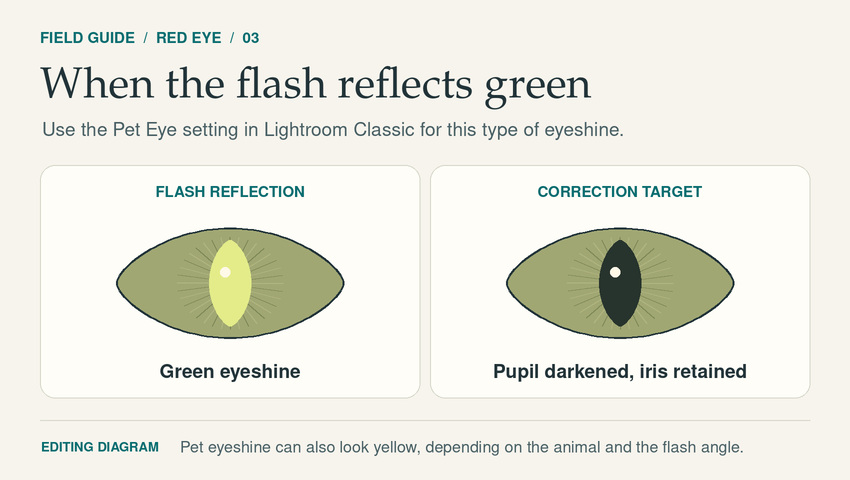
Editing diagram. Correct the colored reflection and check that the shape of the pupil and the surrounding iris still read clearly.
Why Is Lightroom Red Eye Correction Not Working?
When the red eye is gone but the photo still looks soft
A scan can have red pupils, coarse grain, and soft facial detail in the same frame. Fix the pupils in Lightroom first, then inspect the rest of the image at 100%. If the scan also has fading, scratches, or damage across the frame, it helps to plan those repairs separately. See the old photo restoration guide.
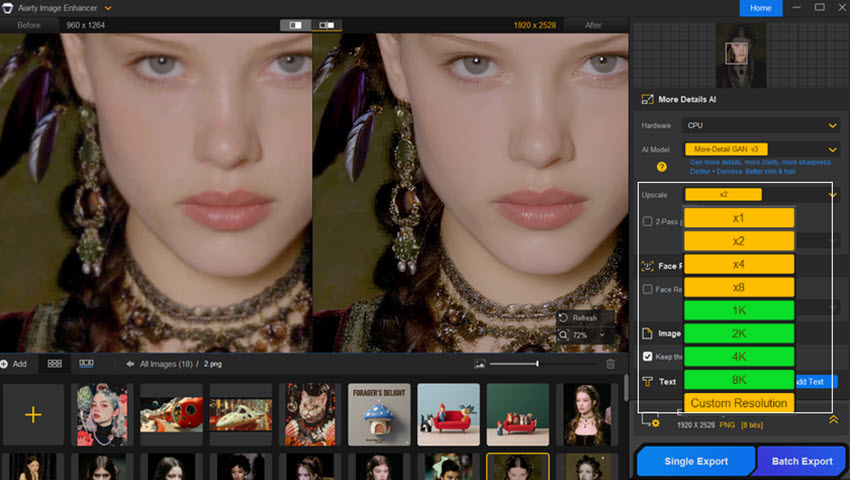
For a noisy JPEG or a soft family-photo scan, Aiarty Image Enhancer can handle a separate pass for denoising, deblurring, or upscaling. If you've set it up as an external editor in Lightroom Classic, go to Photo → Edit In → Aiarty Image Enhancer and choose Edit a Copy with Lightroom Adjustments to carry the pupil correction into the rendered copy. Start at 1× if you're keeping the original dimensions, then tune Strength while checking the eyes, skin texture, and hair. If a face still looks soft after the first pass, compare Face Restoration on and off at the same zoom. Use the gentler result if the stronger pass changes the shape of the eyelids or makes the skin look too smooth. Export from Aiarty and review the enhanced copy back in Lightroom. The Lightroom and Aiarty workflow guide covers the external-editor setup and TIFF handoff.
Once the corrected photo looks right at normal size, choose the output dimensions and sharpening for where it will be viewed. The Lightroom export settings guide covers web and print delivery.
 FAQs
Where is the Red Eye tool in Lightroom?
In Lightroom Classic, look under the histogram in the Develop module for Red Eye Correction. In Lightroom desktop for Mac and Windows, open Remove and select the eye icon to find the Red Eye controls.
Can you remove red eye in Lightroom Mobile for free?
The Brush method in this guide uses Lightroom Mobile's premium Masking feature. If you're on the free plan and see an upgrade prompt when you tap Masking, that workflow requires a subscription.

This post was written by Brenda Peng who is a seasoned editor at Digiarty Software who loves turning ordinary photos into extraordinary works of art. With AI assistance for brainstorming and drafting, the post is reviewed for accuracy by our expert Abby Poole for her expertise in this field.
