Best Practices Select the Right AI Model & Settings

Choose the right AI model based on your image type, source quality, what needs fixing, and the details you want to preserve. This guide helps you find a practical starting point, fine-tune settings, and get more natural results without overprocessing.
Quick Glance
Aiarty Image Enhancer is designed to make image enhancement simple. For many photos, you can start with the default model and settings, preview the result, and export without making any manual adjustments.
But what if the default settings don't quite meet your needs? If you want to preserve natural textures, recover more fine details, reduce noise, or prepare an image for a specific output size, choosing the right model and settings can make a difference.
This guide is approximately 7000 words long. To find the information you need more quickly, use the left-hand navigation to jump directly to the sections that interest you. Aiarty Image Enhancer offers focused tools for different enhancement needs, so you can achieve your desired results in just a few clicks.
How to Choose the Right AI Model and Settings
Follow the decision path that best matches your image type, source quality, and enhancement goals. For further color adjustments or object removal, check out our FAQs for workflows and tips.
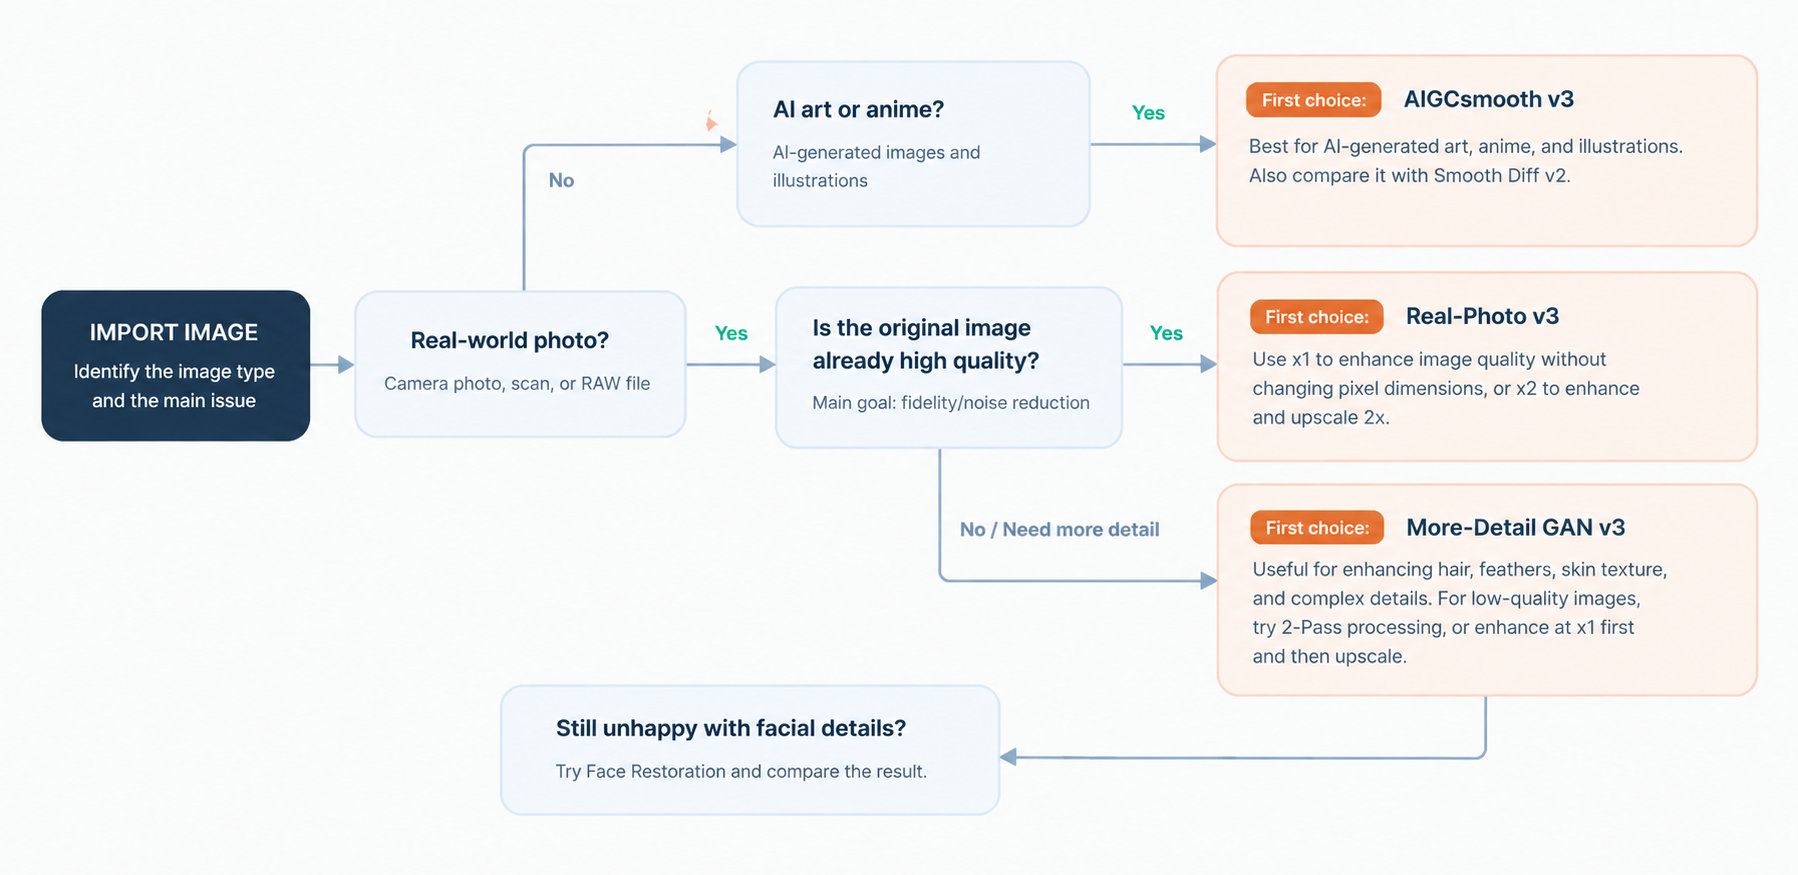
Practical Test Sequence: 7 Steps to Better Results
Follow these steps to find the right model and settings without running unnecessary tests or overprocessing your image.
Optional: If you're a paid user, you can download all AI models in advance to save time and streamline your workflow.
-
1. Start with the right model.
Use the flowchart above to choose a starting point. Real-Photo v3 is suited to photographic fidelity, More-Detail GAN v3 emphasizes detail and sharpness, AIGCsmooth v3 is designed for AI-generated images, and Smooth Diff v2 is worth trying for smoother images, illustrations, and line art.
-
2. Compare a second model when needed.
Use the same source image, output scale, and comparable settings for a fair comparison. Test a second model when the first result does not meet your goal or when another model has a clear advantage for that image type. Focus on meaningful differences in detail, noise, texture, and naturalness instead of generating multiple results without a clear purpose.
-
3. Adjust Strength to avoid overprocessing.
If the result looks too sharp, smooth, or artificial, try reducing Strength if available. If basic image quality still needs improvement, consider checking 2-pass processing or compare another model. Keep the result that looks most natural for your image.
-
4. Use Face Restoration only when it helps.
For portraits and old photo scans with unclear facial details, compare results with Face Restoration on and off. Keep it enabled only when it improves facial clarity without unwanted changes to facial features, proportions, or skin texture.
-
5. Use the minimum processing needed.
Decide whether you actually need more pixels before choosing an upscale factor.
If the original dimensions are sufficient and you only need to reduce noise or improve clarity, start with x1.
For low-quality images with significant blur, noise, or compression artifacts, try restoring the image at x1 first, then evaluate whether upscaling is necessary.
If you need a larger output, start with x2 rather than jumping straight to the maximum scale.
-
6. Check the final output, then scale up your workflow.
Evaluate the result at its intended viewing or output size—not only in Preview or at 400% zoom.
For print, consider the final pixel dimensions, print size, and required DPI; for web or further editing, check the exported image at its actual use size.
-
7. Batch Process Only After Testing.
Aiarty supports batch export with shared settings, as well as per-image adjustments when needed. Before processing a batch, test your chosen model and settings on a representative image. Once you're satisfied with the results, apply them to similar images to streamline your workflow. However, images with different lighting, ISO levels, noise levels, or cropping may require individual adjustments.
Choose by Image Type
Birds & Wildlife
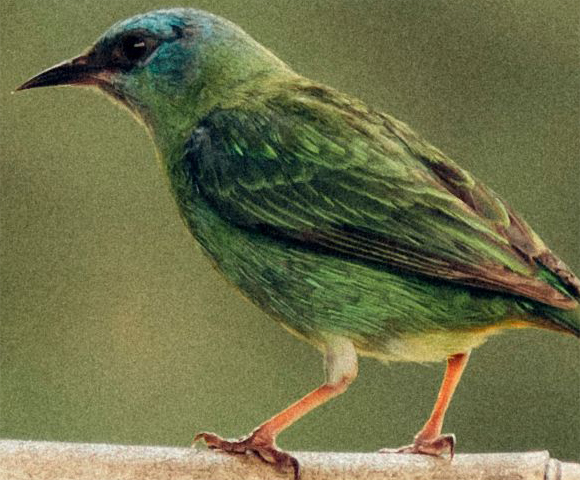
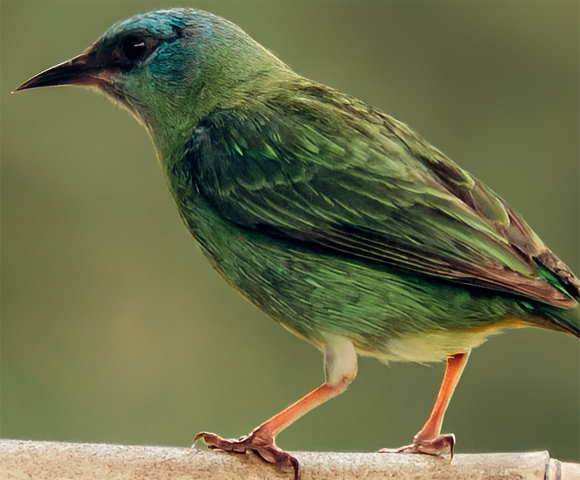
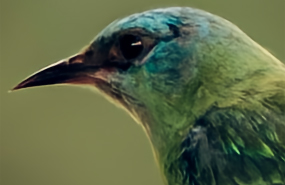
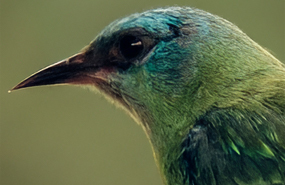
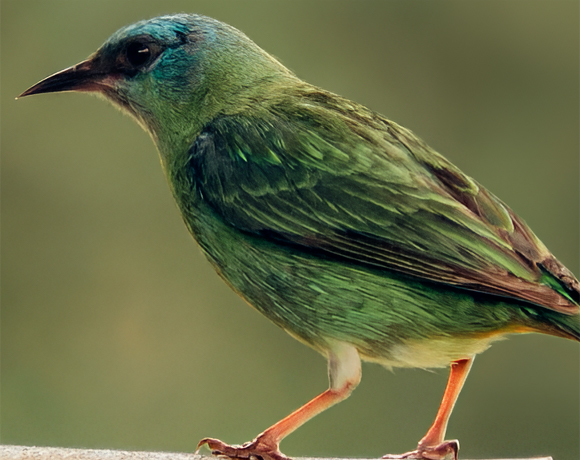
Bird and wildlife photos often contain intricate details such as feathers, fur, eyes, and fine patterns. High-ISO shooting, low light, or cropping can make these details look noisy or soft. The challenge is to improve clarity without making natural textures look artificial.

Recommended Start
Real-Photo v3
Compare With
More-Detail GAN v3
Recommended Start
Real-Photo v3
Compare With
More-Detail GAN v3
Start Settings
Upscale: Choose x1 if the original dimensions are sufficient and you only want to improve image quality. Choose x2 if you need a larger image.
Strength: Start with the default value, then adjust it based on the result. Lower it if feathers, fur, or other fine textures look exaggerated.
Other Settings That May Make a Difference
Enable 2-Pass Processing: This adds an extra x1 enhancement pass and may help refine noisy, grainy, or slightly blurry images. Compare the result carefully, as extra processing can also make details look too sharp or intense.
Adjust Max Tile Size: For large wildlife photos, check the Max Tile Size setting if processing speed or GPU memory is a concern. Smaller tiles use less GPU memory but may take longer to process. Larger tiles require more memory and can produce smoother results with fewer visible tile seams. Choose a setting that suits your hardware and image size.
Why
Real-Photo v3 is designed for realistic photographs, with an emphasis on fidelity to the original image and natural-looking detail. It is a sensible starting point for high-resolution wildlife photos where reducing noise matters more than adding pronounced new textures.
If the bird's feathers still look soft or lack definition, compare the result with More-Detail GAN v3. This model is designed to restore clearer, sharper details and may bring out intricate feather patterns more strongly.
Watch for
Inspect the bird's eye, beak, head, and wing feathers at 100% zoom. Look for reduced grain in the background and darker areas, while checking that individual feathers remain distinguishable. Pay attention to fine edges and color transitions as well: they should look clear without appearing harsh, smeared, or artificially reconstructed.
If It Looks Wrong
Noise remains visible: Compare More-Detail GAN v3 with the same upscale setting and inspect both results at the same zoom level.
Feathers look too smooth or lose definition: Try More-Detail GAN v3 to see whether it preserves finer patterns more effectively.
Fine details look exaggerated or artificial: Lower Strength. If you are using 2-Pass Processing, turn off 2-Pass and process the image again.
Realistic Portraits
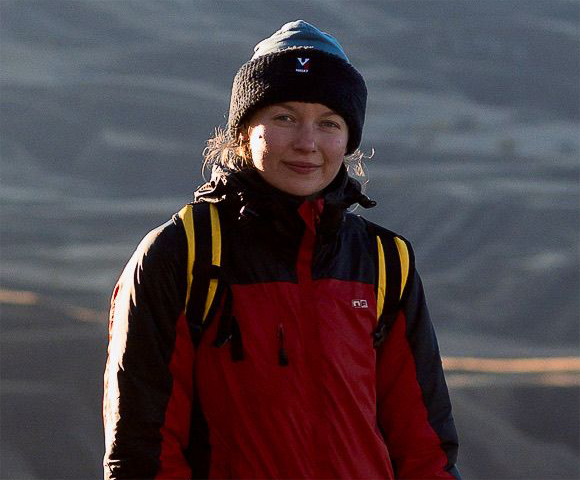
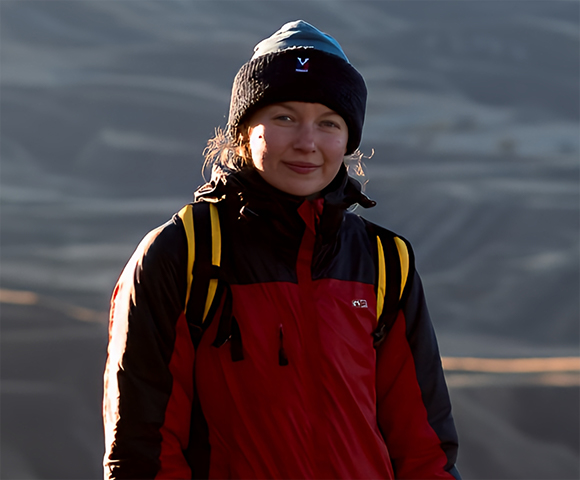
Portrait photos may lack clarity for several reasons. Social media compression can introduce artifacts, cropping reduces the pixels available for the subject, and photos taken from a distance may not capture enough facial detail. Limitations in the camera or lighting conditions can also leave faces, hair, and clothing looking soft.
If you want to enlarge a portrait or prepare it for printing, enhancing it before export can help improve perceived clarity and make better use of the available pixels.
Recommended Start
Real-Photo v3
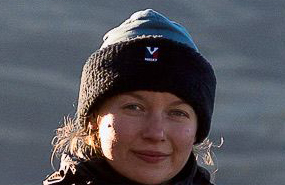
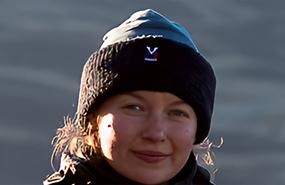
Compare With
More-Detail GAN v3
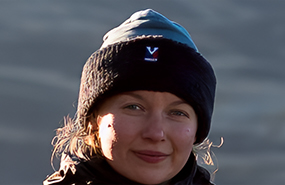
Recommended Start
Real-Photo v3
Compare With
More-Detail GAN v3
Start Settings
Upscale: Use x1 if the original dimensions are sufficient. Choose x2 if you need more pixels for display or print.
Strength: Start with the default value and adjust it until facial features and skin texture look natural.
Why
Real-Photo v3 is designed for photorealistic images, with an emphasis on fidelity and natural-looking detail. It is a good starting point when you want to improve a portrait while keeping the person's original appearance.
If the face, hair, or clothing still looks soft after enhancement, compare the result with More-Detail GAN v3. This model emphasizes clearer, sharper detail and may bring out more definition in hair strands, fabric textures, and other fine features. However, stronger detail generation can also make some areas look overly sharp, so compare both results before choosing one.
Watch for
Inspect the face first, especially the eyes, eyebrows, nose, and mouth. Check whether the features look clearer without changing the person's recognizable appearance. Also examine hair strands, jacket seams, and fabric texture to see whether they gain definition without becoming harsh or artificial.
If It Looks Wrong
The face or clothing still looks soft: Compare More-Detail GAN v3 to see whether it produces clearer features and textures.
Skin or facial features look too sharp or artificial: Lower Strength and compare the result with the original.
The face remains unclear after basic enhancement: Try Face Restoration and compare the available modes. Use it only if the improvement is noticeable and the reconstructed features still look like the person in the original photo.
The image looks clearer but still lacks fine detail: Remember that enhancement cannot reliably recover every detail that was never captured.
Old Low-Quality Photos
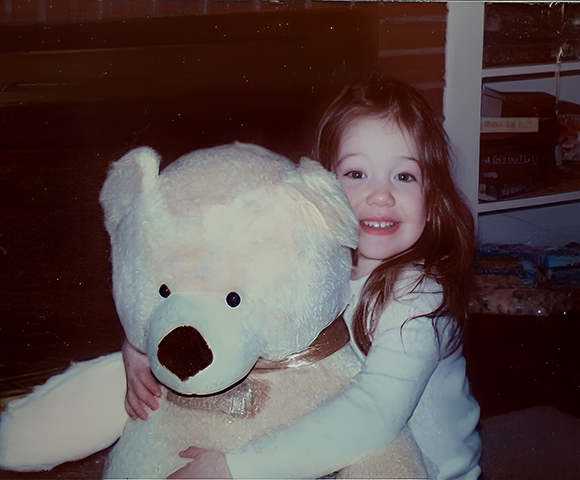
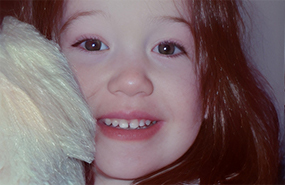
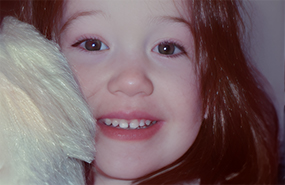
Old family photo often have visible grain, soft details, and limited resolution. Our goal is to make the image clearer and larger while preserving the original appearance. Facial details need extra attention, but restoration should not change the person's recognizable features.
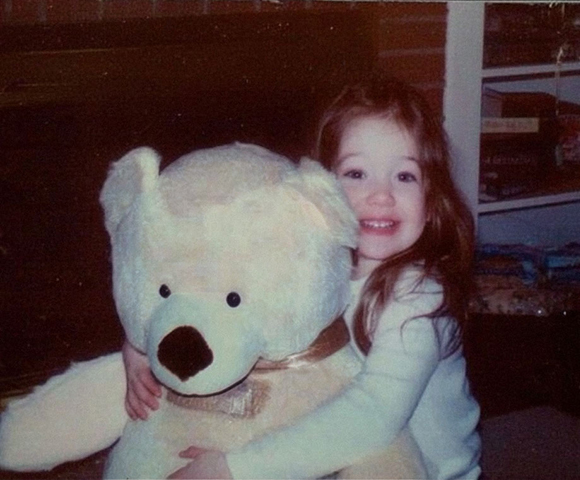
Recommended Start
More-Detail GAN v3
Compare With
Real-Photo v3
Recommended Start
More-Detail GAN v3
Compare With
Real-Photo v3
Start Settings
Upscale: Choose x2 if you need a larger image. Use x1 if you only want to improve the existing image dimensions.
Strength: Start with the default value, then lower it if faces, skin, or clothing look too sharp or reconstructed.
Other Settings That May Make a Difference
Enable Face Restoration when necessary and adjust strength if needed.
Enable AI Eraser if you want to remove scratches and others.
Why
More-Detail GAN v3 is designed to enhance detail, clarity, and sharpness, making it a useful starting point for an old photo with soft details. The x2 scale increases the image dimensions while keeping the enlargement moderate.
Face Restoration with the Fidelity model can be tested when the face remains unclear after the base enhancement. Compare the restored face with the original to ensure that facial features remain natural and recognizable.
Watch for
Pay close attention to eyes, smile, skin texture, and hair. Check that Face Restoration does not alter facial proportions or make the face look overly smooth.
If It Looks Wrong
The face looks artificial, too smooth, or has changed too much: Try another AI model, reduce Face Restoration Strength, or compare the result with Face Restoration turned off.
Some faces look good, but others don't: Use the Select Faces control to enable or disable Face Restoration individually. Not every face in a photo needs the same level of restoration.
The overall image looks too sharp or unnatural: Adjust the main model's Strength separately from Face Restoration Strength. If necessary, compare Real-Photo v3 and More-Detail GAN v3 at the same output scale.
Natural Landscapes
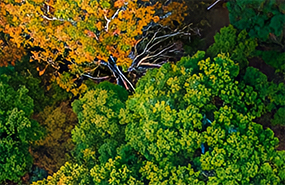
Natural landscape photos may suffer from soft details, noise in shadow areas, or a loss of fine texture in foliage, rocks, and distant terrain. When enlarged or viewed at full size, trees, grass, and other intricate textures may look soft or lack definition.
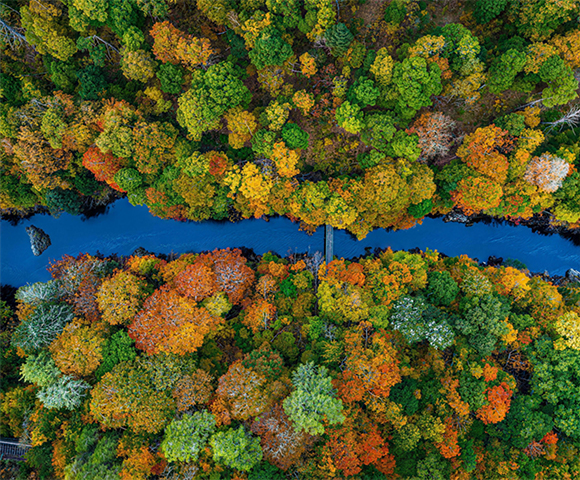
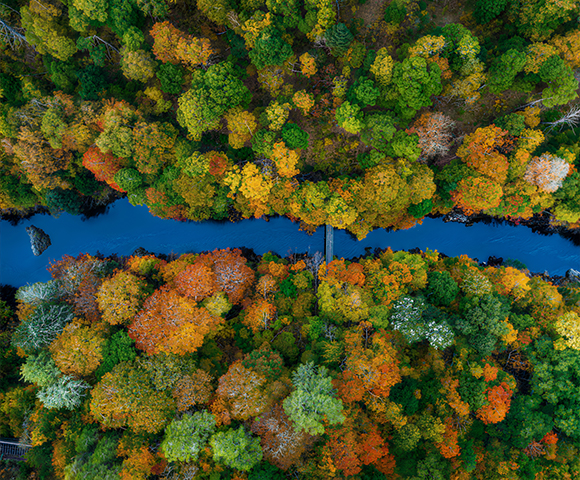
Recommended Start
More-Detail GAN v3
Compare With
Real-Photo v3
Recommended Start
More-Detail GAN v3
Compare With
Real-Photo v3
Start Settings
Upscale: Choose x2 if you need additional pixels for a larger display or print. Choose x1 if the original resolution is sufficient.
Strength: Start with the default value and reduce it if foliage, grass, or distant edges look overly pronounced.
Why
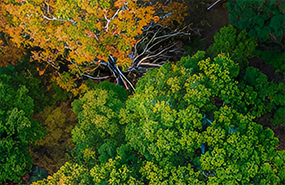
More-Detail GAN v3 is a useful starting point when you want stronger definition in intricate textures such as leaves, branches, rocks, and terrain. Real-Photo v3 is worth comparing when a natural photographic appearance matters more than pronounced detail. The better result depends on the source image and the textures you want to preserve.
Watch for
Inspect tree branches, leaves, grass, rocks, and distant terrain. Look for clearer structures without repetitive patterns, exaggerated edges, or a crunchy appearance. Check smooth areas such as skies and water for unwanted artifacts as well.
If It Looks Wrong
Foliage looks too sharp or busy: Lower Strength or compare Real-Photo v3.
Fine textures still look soft: Compare both models at the same output dimensions and zoom level.
Noise appears in shadows: Inspect the darker areas carefully and compare which model provides a better balance between noise and texture.
Cityscapes
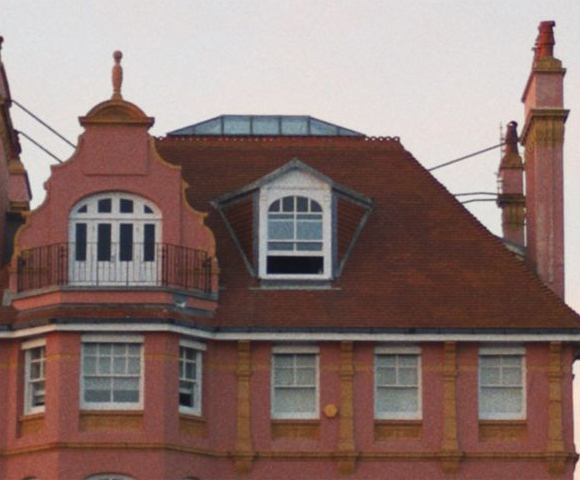
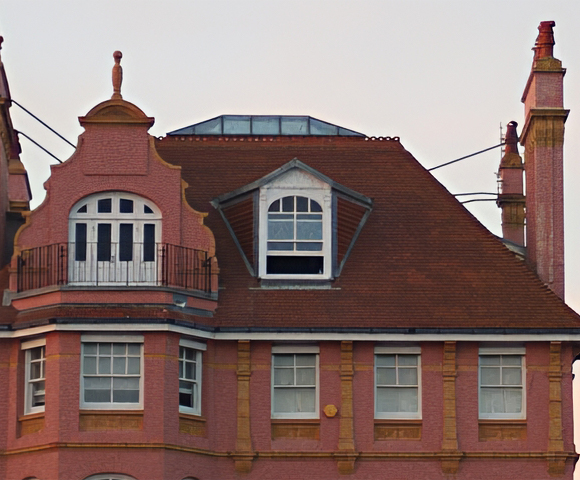
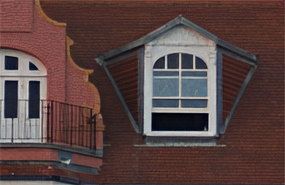
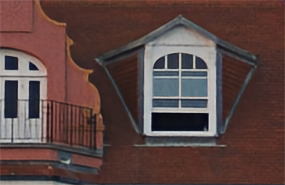
Cityscape photos often contain a mix of fine architectural details, straight edges, glass surfaces, roads, and distant buildings. Building facades, windows, rooftops, and distant structures may look soft or lack definition, especially in low-resolution images or photos taken in low light. The goal is to improve visible detail while keeping architectural lines straight, textures natural, and the overall scene realistic.
Recommended Start
More-Detail GAN v3
Compare With
Real-Photo v3
Recommended Start
More-Detail GAN v3
Compare With
Real-Photo v3
Start Settings
Scale: x2 if you need a larger image; use x1 if the original resolution is sufficient.
Strength: Start at 1.0, then adjust based on the result.
Other settings
2-Pass: Consider testing it if a single pass does not provide enough clarity.
Why
More-Detail GAN v3 is a useful starting point when architectural details and edges need more definition. Real-Photo v3 is worth comparing when preserving a natural photographic look is just as important as improving clarity.
Watch for
Check window frames, rooflines, brickwork, glass surfaces, and distant buildings. Look for clearer edges without halos, distorted lines, or artificial-looking textures.
If It Looks Wrong
Details look over-sharpened: Lower Strength and compare again.
Textures look unnatural: Test Real-Photo v3 to see whether it preserves the original appearance better.
Fine details remain unclear: Compare the result at x1 and x2, or test 2-Pass if necessary.
AI-Generated Images
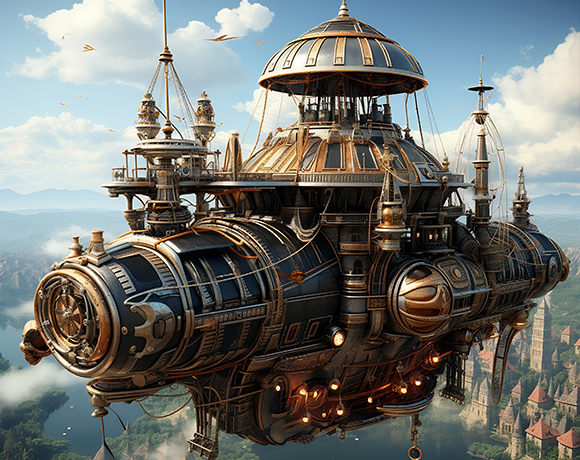
AI-generated images may contain soft edges or small structures that are difficult to distinguish. Enlarging the image can make these weaknesses more noticeable. The goal is to improve clarity and resolution while preserving the artwork's original style, composition, and visual character.

Recommended Start
AIGCsmooth v3
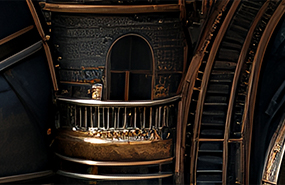
Compare With
Smooth Diff v2
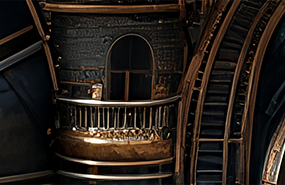
Recommended Start
AIGCsmooth v3
Compare With
Smooth Diff v2
Start Settings
Upscale: Choose x2 if the image needs more pixels for display or print. Use x1 if its dimensions are already sufficient.
Strength: Start with the default value, then adjust it if edges, textures, or small features change too much.
Why
AIGCsmooth v3 is designed for AI-generated images, combining detail enhancement with smoothing to improve clarity while retaining the image's original characteristics. It is a suitable starting point when you need to enlarge artwork and make fine details more distinguishable.
Watch for
Inspect fine edges and small structures at 100% zoom. Check whether details become easier to distinguish after upscaling without changing the artwork's original style.
If It Looks Wrong
Fine details are still difficult to see: Compare More-Detail GAN v3 at the same scale.
The result looks too sharp or changes the original style: Reduce Strength and compare it with Smooth Diff v2.
Choose by Image Problem
Blur and Soft Focus
A photo may look soft when the subject is slightly out of focus, fine details are not well defined, or the original image has limited sharpness. This can make important features, such as eyes, hair, and clothing textures, appear less distinct.
Aiarty Image Enhancer can help improve perceived clarity and bring out visible details in suitable images. The best settings depend on the type and severity of blur, as well as how much detail remains in the original.
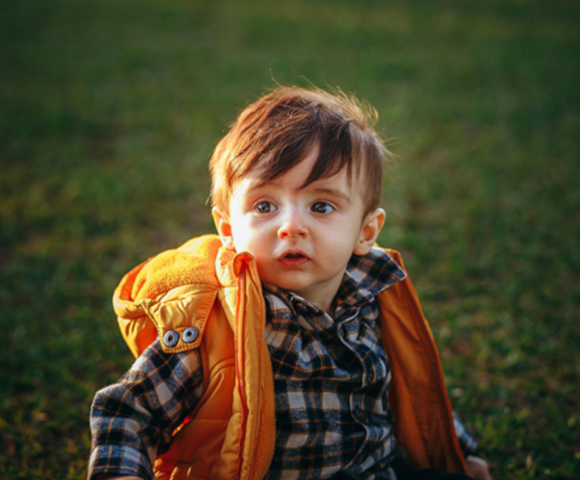
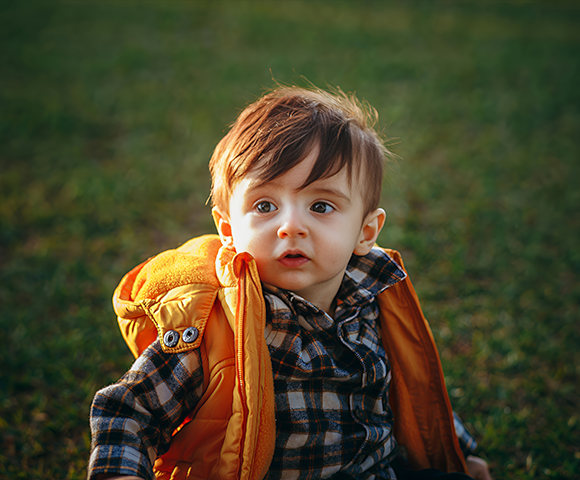
Recommended Start
More-Detail GAN v3
Compare With
Real-Photo v3
Recommended Start
More-Detail GAN v3
Compare With
Real-Photo v3
Start Settings
Upscale: x1 if you only want to improve clarity without enlarging the image. Choose a higher upscale factor if you also need more pixels for a larger display or print.
Strength: Start with the default value of 1, then lower it if edges or textures look too sharp or artificial.
Optional
If the image still lacks definition, try enabling 2-Pass Processing. Compare the result with standard processing to see whether the extra enhancement improves detail without introducing unwanted artifacts.
For old portrait photos, you can also try testing the results with Face Restoration enabled.
Why
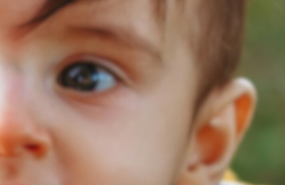
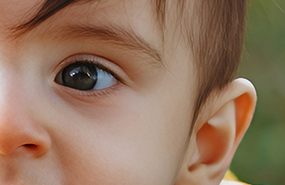
More-Detail GAN v3 emphasizes detail and sharpness, making it a useful starting point for images with soft edges or textures. It may help make features such as eyes, hair, and clothing patterns more distinct.
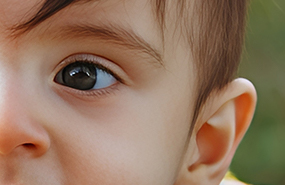
If the result looks too sharp or changes the original texture, compare Real-Photo v3. Its emphasis on natural-looking photographic detail may provide a more restrained result for some images.
Watch for
Inspect the eyes, eyelashes, hair strands, and edges of the clothing pattern at 100% zoom. Check whether these areas look more defined without developing bright outlines, exaggerated textures, or unnatural transitions.
Also compare the subject's facial features with the original. Improved clarity should not come at the expense of a recognizable, natural-looking face.
If It Looks Wrong
The image still looks soft: Compare Real-Photo v3 and More-Detail GAN v3 at the same upscale factor and inspect the same areas. If the source is heavily blurred, the improvement may be limited.
Edges look harsh or details appear artificial: Lower Strength. If you enabled 2-Pass Processing, turn it off and process the image again.
The face looks different from the original: Compare the facial features carefully and avoid settings that produce convincing-looking but inaccurate details.
Noise and High-ISO Grain
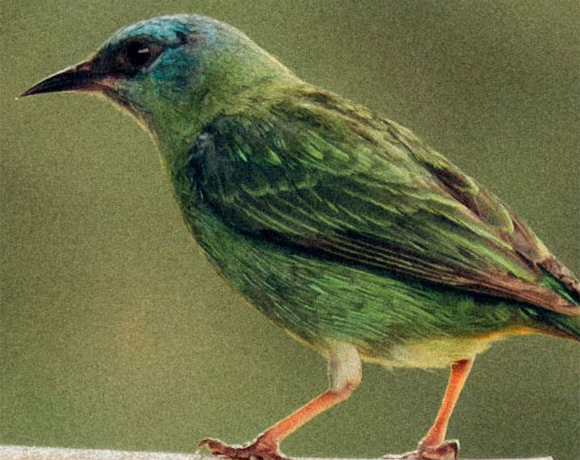
Noise can appear as colored speckles, grain, or uneven texture, especially in photos taken at high ISO or in low light. It can be particularly noticeable in smooth backgrounds and shadow areas, where it competes with fine image details.
The goal is to reduce distracting noise without making the image look waxy or erasing subtle textures.
Recommended Start
Real-Photo v3
Compare With
More-Detail GAN v3
Recommended Start
Real-Photo v3
Compare With
More-Detail GAN v3
Start Settings
Upscale: x1 if you want to reduce noise without changing the original pixel dimensions.
Strength: Start with the default value. Check whether noise is reduced while important textures remain visible, and lower Strength if the result looks overprocessed.
Other Settings That May Make a Difference
2-Pass Processing: It adds an extra x1 enhancement pass and may help with noisy or grainy images. Compare it with standard processing, as the extra pass can also make details look too sharp or intense.
Max Tile Size: If you are processing a large image and encounter GPU memory limitations or slow processing, adjust Max Tile Size to suit your hardware. Smaller tiles use less GPU memory but may take longer to process, while larger tiles require more memory and can help reduce visible tile seams. This setting is mainly for managing processing requirements rather than directly controlling noise reduction.
Why
Real-Photo v3 is designed for realistic photographs and emphasizes natural-looking detail. It is a sensible starting point when reducing distracting noise and preserving the original photographic appearance are the main priorities.
If noise reduction leaves feathers, hair, fabric, or other fine textures looking too soft, compare More-Detail GAN v3. Check whether its stronger emphasis on detail improves texture without making residual noise more noticeable.
Watch for
Inspect smooth areas, shadows, and other regions where noise is most visible. Check whether grain and colored speckles have been reduced, then examine important details such as facial features, hair, skin texture, fabric, or fine patterns in the subject.
If It Looks Wrong
Noise is still visible: Compare Real-Photo v3 with More-Detail GAN v3 at the same upscale factor and zoom level to see which provides a better balance between noise reduction and detail retention.
Fine details look smeared or disappear: Try More-Detail GAN v3 to see whether it retains more texture and definition.
The result looks too sharp or artificial: Lower Strength. If you are using 2-Pass Processing, turn off the extra pass and process the image again.
Some areas still appear noisy: Open the settings in the upper-left corner, find Max Tile Size, and try a different value.
JPEG/Web Compression
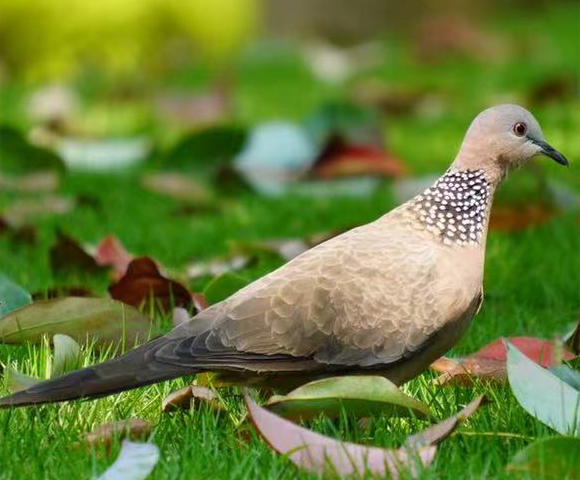
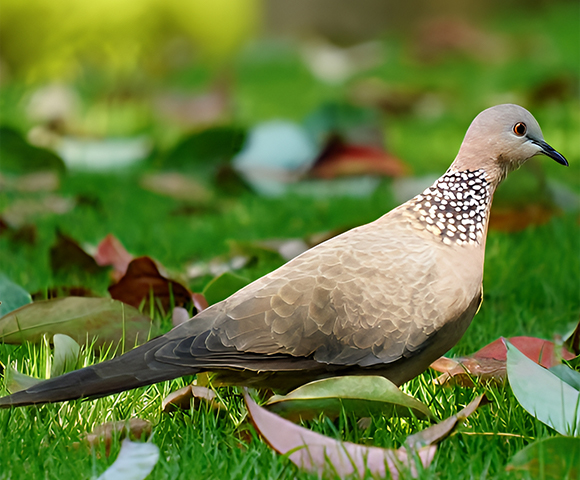
Images saved or shared through websites, social platforms, messaging apps, or repeated JPEG exports may lose fine details due to compression. Common signs include blocky artifacts, rough edges, blurred textures, and subtle details that appear smeared or less distinct. These issues can be especially noticeable around sharp edges, fine patterns, and areas with gradual color transitions.
The goal is to reduce visible compression artifacts and improve clarity while preserving natural textures and avoiding excessive sharpening or artificial detail.
Before / After
Head & Feather Details
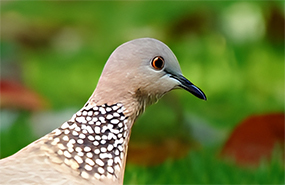
Before / After
Tail & Grass Textures
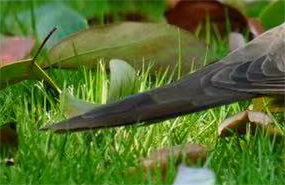
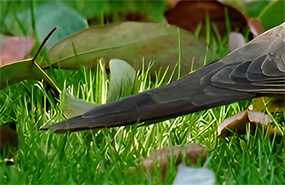
Recommended Start
More-Detail GAN v3
Compare With
Real-Photo v3/Smooth Diff v2/AIGCsmooth v3
Start Settings
Upscale: x1 if you want to improve image quality without changing the original pixel dimensions. If you need to upscale the image but aren’t satisfied with the results, try enhancing it at x1 first, then upscale it afterward.
Strength: Start with the default value, then lower it if edges become too harsh or compression artifacts become more noticeable.
Optional
2-Pass Processing: If standard enhancement does not provide enough refinement, try enabling 2-Pass Processing. Compare both results carefully, as the extra pass may improve detail definition but can also make artifacts more noticeable.
Why
More-Detail GAN v3 emphasizes clarity and detail generation, making it a useful starting point for compressed images that look soft or have lost fine texture. It may help define edges and bring out details that have become less distinct after compression.
If the result looks too sharp or introduces unnatural textures, compare it with other models. Choose the model that improves clarity without making compression artifacts more prominent.
Watch for
Inspect areas where compression is most noticeable, including sharp edges, fine patterns, text or graphic boundaries, and smooth color transitions. Check for blocky patches, ringing around edges, smeared textures, and unnatural color variations. Pay attention to whether enhancement reveals useful texture or simply makes existing artifacts sharper.
If It Looks Wrong
Compression artifacts remain visible: Test another suitable model using the same settings and output dimensions.
Edges look harsh or develop halos: Lower Strength and compare the result with the original.
Textures look artificial or become more pronounced: Try Real-Photo v3 or disable 2-Pass Processing if it is enabled.
Low-Resolution and Pixelation
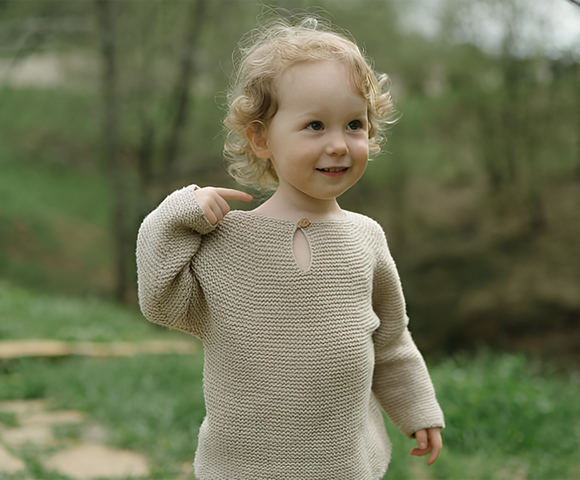
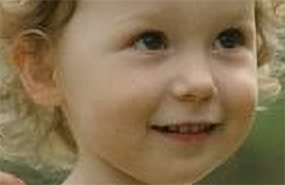
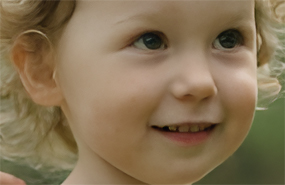
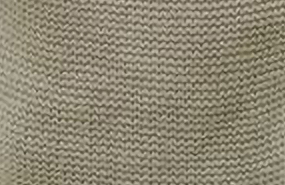
Low-resolution images may show visible pixels, jagged edges, and indistinct details, especially when enlarged. AI upscaling increases pixel dimensions and may improve perceived detail, but the result depends on the source quality, image content, and chosen model.
The best approach is to select a model that suits the image type, then choose an output size that meets your actual needs.
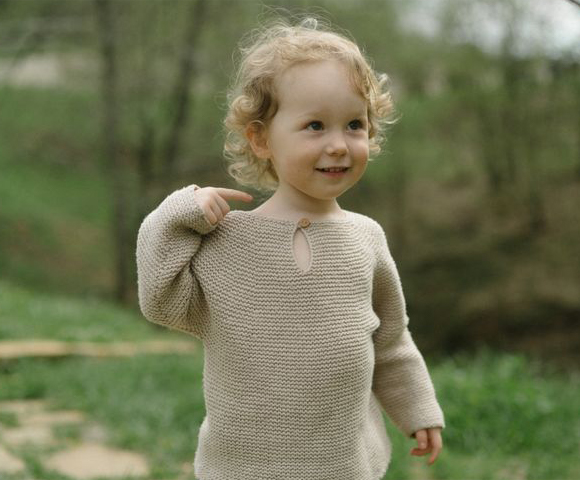
Before / After
Facial Details
Before / After
Sweater Texture
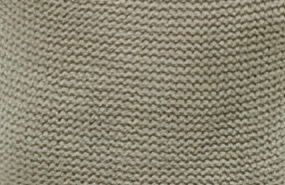
Recommended Start
Choose a model based on the image content:
Portraits: Start with Real-Photo v3 for a natural photographic look, or compare More-Detail GAN v3 when facial features need more definition. For older or unclear portraits, you can also test Face Restoration.
Wildlife, landscapes, and other realistic photos: Start with Real-Photo v3 for natural-looking results. Try More-Detail GAN v3 if you want more pronounced detail.
AI-generated images: Start with AIGCsmooth v3 to refine details while maintaining a smooth appearance.
Anime, illustrations, and stylized artwork: Try Smooth Diff v2 to enhance the image while preserving its stylized look.
These are starting points rather than fixed rules. Compare suitable models using the same source image and output dimensions.
Starting Settings
Upscale: Choose the scale or target resolution based on the final use. Start with x2 when moderate enlargement is sufficient; use a higher scale only when you need more pixels.
Strength: Start with the default value. Lower it if textures become exaggerated or the result differs too much from the original.
Repair Before Upscaling: If the source also has severe blur, noise, or compression artifacts, consider enhancing it at x1 first. Export the result, then import it for upscaling. Compare this workflow with direct upscaling to see which works better for your image.
Why These Settings?
A higher output resolution does not automatically produce a more natural result. For some images, a two-step workflow—x2 enhancement followed by another x2 upscale—may work better than a direct x4 upscale. It is not guaranteed to be superior, so compare both approaches when the difference matters.
Choosing a target resolution can also produce a different result from selecting an upscale factor, even when both lead to the same final dimensions. Test the available options rather than assuming they are interchangeable in every case.
Cropped Images with Insufficient Detail
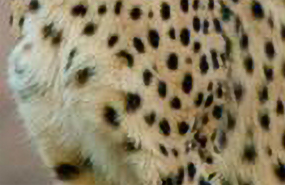
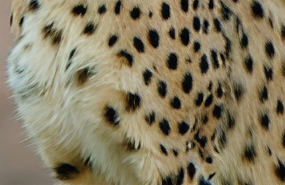
Cropping can bring a subject closer and improve composition, but it also removes pixels from the original image. When the cropped result is enlarged, faces, feathers, fur, and other fine details may look soft or poorly defined.
Aiarty Image Enhancer can help improve the appearance of cropped images, especially when the remaining pixels are not sufficient for your intended output size. The best settings depend on the subject, the quality of the cropped image, and how much enlargement you need.
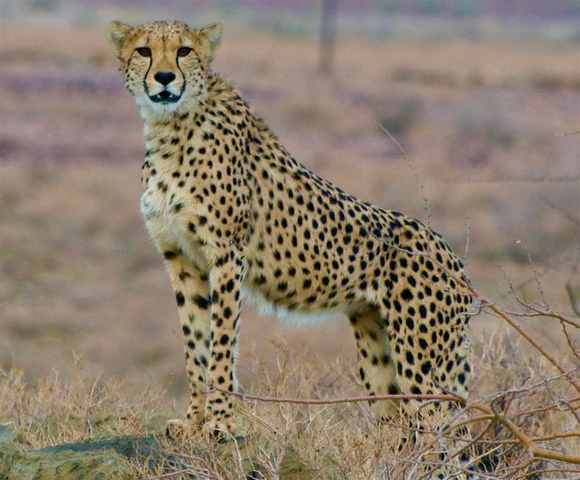
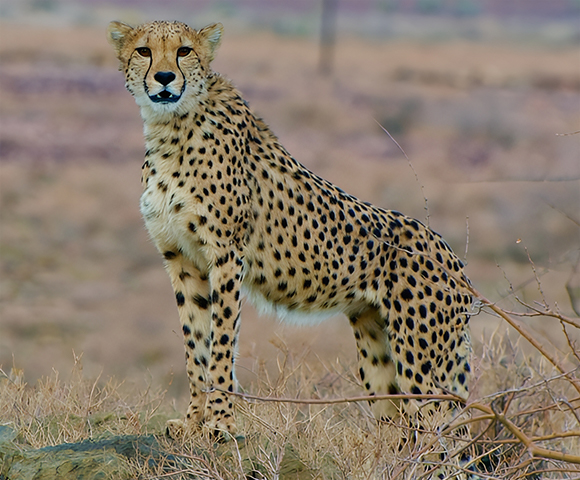
Before / After
Facial Details
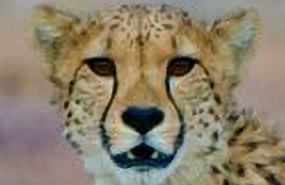
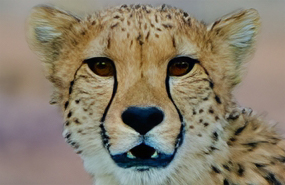
Before / After
Fur & Spot Patterns
Recommended Start
Choose a model based on the subject:
Portraits: Start with Real-Photo v3 for natural-looking facial details. Compare More-Detail GAN v3 if the face or hair needs more definition. Face Restoration may help when facial features remain unclear.
Wildlife, landscapes, and other realistic photos: Start with Real-Photo v3 for a natural look, or try More-Detail GAN v3 when fur, feathers, or surface textures need stronger definition.
AI-generated images: Try AIGCsmooth v3 to refine details while maintaining a smooth appearance.
Anime, illustrations, and stylized artwork: Try Smooth Diff v2 to enhance the image while preserving its visual style.
Starting Settings
Upscale: Choose x1 if the cropped image already has enough pixels for its intended use and you only want to improve image quality. If you need more pixels, start with x2 and inspect the result before choosing a higher scale.
Strength: Start with the default value. Lower it if facial features or textures become too sharp, exaggerated, or different from the original.
Face Restoration: For portraits, test it only when the face remains unclear after the main enhancement. Check that the result still resembles the person.
Choose by Desired Result
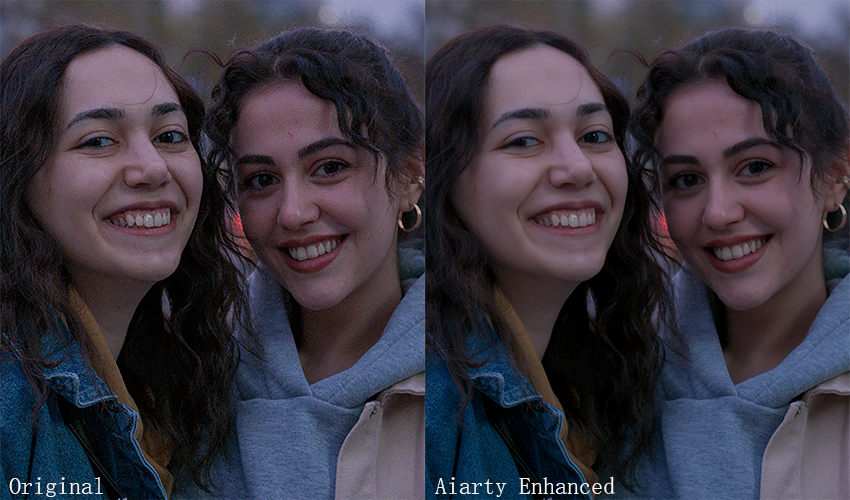
Keep the Original Look
Best for: Realistic photos where natural textures, recognizable features, and fidelity to the original matter more than strong sharpening or pronounced detail enhancement.
If an enhanced image looks too sharp, too textured, or noticeably different from the original, try the following adjustments.
Start with Real-Photo v3. It is designed for realistic photographs and emphasizes natural-looking detail. If the result still looks too soft or changes important textures, compare it with another suitable model using the same output settings.
Lower Strength if the effect is too strong. A lower value may help preserve the original texture and appearance. Compare the result with the original to find a balance between improved clarity and natural-looking detail.
Choose Fidelity for Face Restoration when resemblance is the priority. If Rebuild produces facial features that look different from the original, try Fidelity and compare the results. Check that the restored face remains recognizable.
Turn off 2-Pass Processing if the image looks overprocessed. An additional enhancement pass may make details more pronounced, but it may also introduce excessive sharpness or texture. Compare the single-pass and two-pass results before deciding which to keep.
Recover More Details
Best for: Photos that look soft, lack fine texture, or need more visible detail for closer viewing or larger output. When detail recovery is the priority, try a model that emphasizes texture and fine detail, then adjust the settings to control how much detail is added.
Start with More-Detail GAN v3. It is designed to bring out fine textures and enhance perceived detail, making it a useful starting point when you want a more pronounced result. Compare it with Real-Photo v3 if natural-looking textures are equally important.
Enable Face Restoration for portraits. If a face looks soft or lacks definition, Face Restoration can help recover facial details. Adjust its Strength to avoid making the face look overly reconstructed.
Try 2-Pass Processing. 2-pass enhancement can further refine details when a single pass does not deliver enough improvement. Compare both results, as additional processing may not always produce a better-looking image.
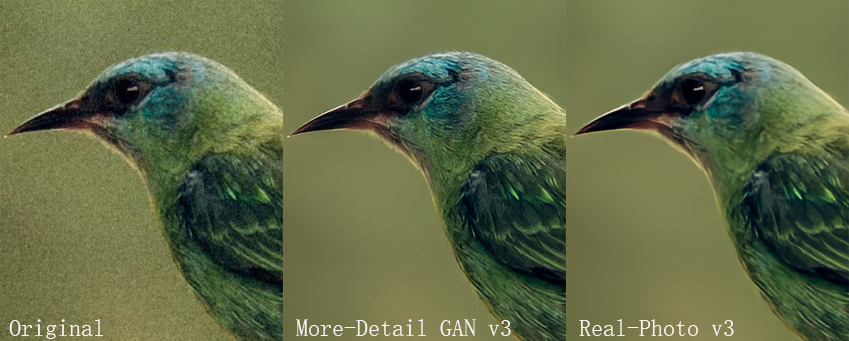
Get a Cleaner, Smoother Result
Best for: Images that look grainy, rough, or overly sharp, where a cleaner appearance matters more than pronounced texture enhancement.
A smoother result can make an image look more polished, but too much smoothing may remove useful detail. Choose a model suited to your image type and aim for a balance between reducing distracting texture and preserving important features.
Start with Real-Photo v3 for realistic photos. It emphasizes natural-looking photographic detail and is a useful starting point when you want a cleaner result without pronounced sharpening.
Try AIGCsmooth v3 for AI-generated images. It combines detail enhancement with smoothing, making it worth testing when you want to refine AI-generated artwork while maintaining a smooth appearance.
Try Smooth Diff v2 for stylized artwork. If you are enhancing illustrations or other stylized images, compare it with AIGCsmooth v3 to see which better preserves the intended style.
Adjust the Strength to control the effect. Increase it gradually if the image still looks noisy or rough. Check skin, hair, foliage, and other fine textures to make sure they do not become unnaturally smooth or lose important detail.
Test 2-Pass Processing when one pass is not enough. It may help produce a more refined result, but it can also change the image more noticeably. Keep it enabled only if the additional improvement is worthwhile.
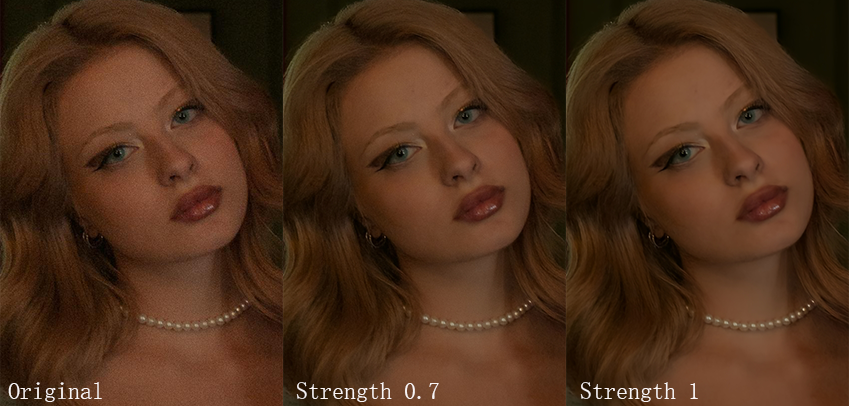
By Input Format
RAW Images
RAW files retain more of the original image data captured by the camera than JPEGs typically do, giving you greater flexibility when adjusting exposure, white balance, and tonal details. However, RAW images can still contain high-ISO noise, softness, or limited fine detail, depending on the shooting conditions.
Aiarty Image Enhancer supports a range of RAW formats, including DNG, CR3, CR2, NEF, ARW, and RAF, so you can enhance supported RAW files without first converting them to JPEG.
Which AI Model Should You Use?
Choose a model based on the image content and your enhancement goals, rather than the RAW format itself. Real-Photo v3 is a useful starting point for natural-looking enhancement of real-world photos. If you want more pronounced details, compare it with More-Detail GAN v3.
Workflow Tip
For greater control over the final image, adjust exposure, white balance, and other basic settings in your preferred RAW editor first. Then use Aiarty Image Enhancer to refine clarity, reduce distracting noise, or enhance fine details. You can continue editing or export the enhanced image in a supported format afterward.
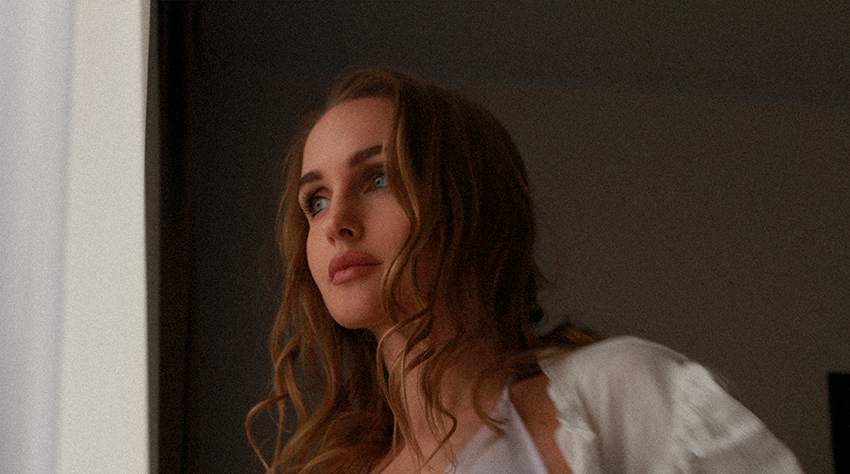
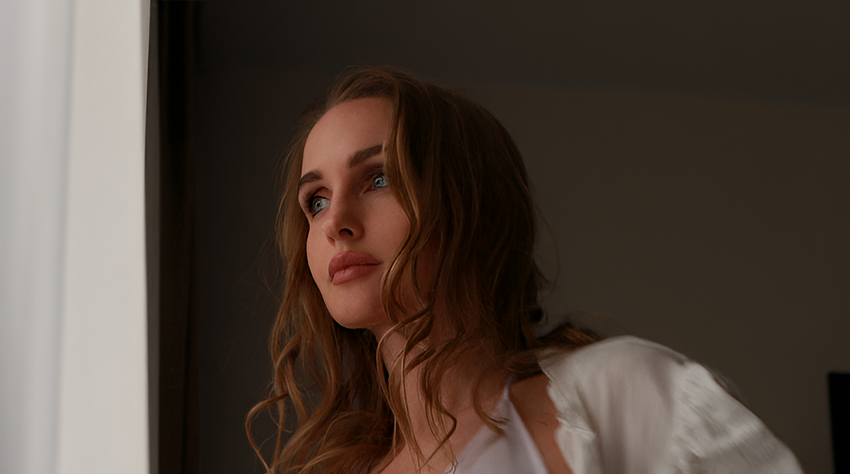
JPEG, PNG, WebP, and Other Common Formats
Aiarty Image Enhancer supports common image formats, including JPEG, PNG, WebP, HEIC, AVIF, and TIFF. You can work with supported images from websites, phones, cameras, or editing apps without converting them to another format first.
Which AI Model Should You Use?
The file format alone doesn't determine the best AI model. Choose based on the image content and the issues you want to improve.
Real-world photos: Start with Real-Photo v3 for natural-looking enhancement, or compare it with More-Detail GAN v3 when you want more pronounced detail.
AI-generated images: Try AIGCsmooth v3 to refine details while maintaining a smooth appearance.
Anime, illustrations, and stylized artwork: Try Smooth Diff v2 to enhance the image while preserving its stylized appearance.
If a JPEG image has visible compression artifacts, or any image looks noisy, blurry, or pixelated, choose a workflow based on the specific problem rather than the file extension.
For the complete list of supported input and output formats, see the Aiarty Image Enhancer Tech Specs.
By Output & Workflow
Aiarty Image Enhancer supports different output needs and photo editing workflows, whether you want to improve image quality without enlarging it, continue editing in Lightroom, process multiple photos efficiently, or prepare images for high-resolution printing.
Enhance Without Upscaling
If your image already has enough pixels for its intended use, you may not need to enlarge it. Choose x1 to improve image quality while keeping the original pixel dimensions.
This is useful when you want to reduce noise, correct softness, or clean up compression artifacts without increasing the image size.
Lightroom Workflow
Aiarty Image Enhancer can work alongside Lightroom Classic, allowing you to use Lightroom for your regular photo adjustments and Aiarty for AI-powered enhancement.
In Lightroom Classic, select a photo and choose Edit In > Edit in Aiarty Image Enhancer to send it to Aiarty. Apply the enhancement settings you need and export the processed image. You can then continue working with the enhanced photo in Lightroom Classic.
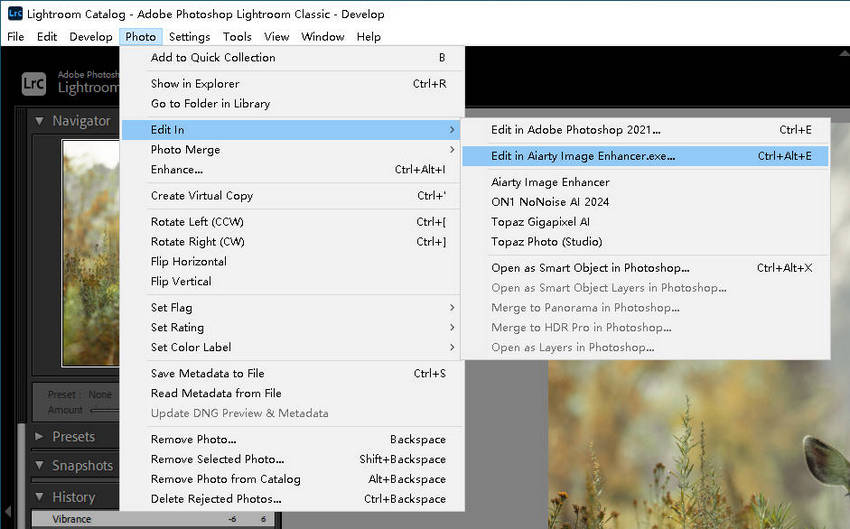
This workflow is useful when you want to keep your existing Lightroom editing process while adding another step for noise reduction, sharpening, or upscaling.
For detailed instructions, see our guide to using Aiarty Image Enhancer with Lightroom Classic.
Batch Apply Settings to Multiple Images
When you have several photos that need similar treatment, batch processing can save time. You can apply the same settings across multiple images or configure each photo individually when their needs differ.
To apply the same settings to multiple images:
Click one of the images and configure its settings, including the AI model, upscale factor, and Strength.
Click Batch Export to apply the current settings to the other images in the batch.
If the images require different settings, select each image individually, adjust its settings, and click Single Export for that image.
Batch processing works best when the photos have similar quality issues and enhancement requirements. For mixed batches containing portraits, wildlife, and heavily compressed images, individual adjustments may produce more suitable results.
Prepare Images for High-Resolution Printing
To prepare an image for print, first determine the required pixel dimensions based on your print size and target DPI. Then choose a suitable upscale option and set the output DPI in Aiarty Image Enhancer.
1. Calculate the required pixel dimensions
Multiply the desired print width and height in inches by the target DPI.
For example, a 12 × 8-inch print at 300 DPI requires an image of 3,600 × 2,400 pixels. If your original image is 1,800 × 1,200 pixels, a 2x upscale will bring it to the target dimensions.
2. Choose an upscale option
Compare your original pixel dimensions with the target dimensions to estimate the required enlargement. Choose an available upscale factor or enter a custom resolution. Aiarty supports output dimensions up to 32K on Windows and 16K on Mac.
3. Set the output DPI
Choose a DPI setting based on your print size, viewing distance, and print service requirements. 300 DPI is a common target for photos and photo books viewed up close, while 150-240 DPI may be sufficient for larger prints viewed from farther away.
Aiarty supports output DPI settings up to 1,000 DPI. However, changing DPI alone does not add pixels or restore missing detail. At the same pixel dimensions, a higher DPI produces a smaller print, while a lower DPI produces a larger one. If you need a larger print at the same DPI, increase the image's pixel dimensions through upscaling.
FAQs
-
1. Which AI model should I use for portraits?
For realistic portraits, start with Real-Photo v3 for natural-looking enhancement. If you want more pronounced detail in areas such as hair, eyes, and skin texture, compare the result with More-Detail GAN v3. For soft or low-resolution faces, try enabling Face Restoration and compare the results before exporting.
The best choice depends on the original image quality and the look you want to achieve.
-
2. Which AI model should I use for old photos?
Start with Real-Photo v3, which is designed for real-world photos and old-photo restoration. Adjust Strength to balance clarity and natural texture. If faces remain blurry or lack definition, try Face Restoration and compare the available restoration modes.
For heavily damaged or extremely low-resolution photos, review the result carefully to make sure reconstructed details still look natural.
-
3. Which model is best for reducing noise while preserving details?
For realistic photos, start with Real-Photo v3 for a natural-looking result. If you want stronger detail enhancement, compare it with More-Detail GAN v3.
Adjust the Strength slider to balance noise reduction, sharpness, and texture. If the result looks too smooth or overly sharpened, lower Strength and preview the image again.
-
4. How do I avoid waxy or plastic-looking skin?
Start with a model suited to realistic photos, then adjust the Strength slider to reduce the intensity of enhancement. Avoid applying Face Restoration automatically to every portrait; enable it when facial details need additional reconstruction.
Zoom in to inspect skin texture and facial features, and compare the enhanced result with the original before exporting.
-
5. Should I enable Face Restoration for every portrait?
No. Start by enhancing the image with a suitable AI model and adjusting Strength. If the face already looks clear and natural, additional restoration may not be necessary.
For old, blurry, or low-resolution portraits, try Face Restoration and compare the result. Choose Alpha Overlay when you want to better preserve the original colors and appearance, or Gradient Overlay when a face needs stronger reconstruction.
-
6. Should I enhance images before or after editing them in Lightroom, Capture One, or Photoshop?
A practical workflow is to perform your basic edits first, use Aiarty Image Enhancer for AI-powered enhancement, and then return to your photo editor for final adjustments.
Before enhancement: Adjust exposure, white balance, and basic tonal settings as needed.
In Aiarty: Reduce noise, improve clarity, restore details, or upscale the image.
After enhancement: Fine-tune color, contrast, retouching, and other finishing adjustments.
The ideal order depends on the image and your editing workflow. For example, you may prefer to reduce noise before applying strong sharpening or to make final color adjustments after enhancement.
-
7. In what order should I use Image Enhancement, Face Restoration, and AI Eraser?
A useful starting workflow is:
AI Eraser: Remove unwanted objects if necessary, then inspect the reconstructed areas.
Image Enhancement: Improve overall clarity, reduce noise, and upscale if needed.
Face Restoration: Enable it when faces need additional detail or reconstruction.
Final review: Check edges, skin texture, colors, and any reconstructed areas before exporting.
Not every image needs all three features. Preview the results at each stage and avoid applying extra enhancement when the image already looks natural.
-
8. What should I do if the enhanced image has unwanted color shift?
Open the Color section and find Restore Color. Increase its value to bring the enhanced image's colors closer to the original. You can also fine-tune Color Temperature and Tint if needed.
Preview the result and adjust the settings until the colors look natural.
-
9. What should I do if square or checkerboard-like artifacts appear after enhancement?
Try changing Max Tile Size in the settings. Preview the result after each adjustment, as the best setting can vary depending on the image and processing conditions.
-
10. Do different AI models have different GPU requirements? Can my GPU run Aiarty Image Enhancer?
Aiarty Image Enhancer can use CPU or GPU processing, and GPU acceleration can improve processing speed. The actual performance depends on your hardware, image dimensions, and processing settings.
The published system requirements describe supported hardware for Windows and Mac, but do not specify a separate VRAM requirement for every AI model. To check your hardware, open Aiarty Image Enhancer and select Hardware Check from the top-left menu. You can also consult the official system requirements.
-
11. Does Aiarty Image Enhancer require an internet connection?
An internet connection is required to register the software and download AI models the first time they are used. Once a model has been downloaded, image processing does't require a continuous connection.
