How to Print Photos from Google Photos (Step-by-Step & Fix Blurry Prints)
Updated on
Quick Answer: To print photos from Google Photos, download your images first or use Google’s print service. For better results, make sure your photos are high-resolution and print at 300 DPI. If your images look blurry, enhance them before printing to improve clarity.
Printing photos from Google Photos is usually simple, but many users run into a common problem—images often look blurry, soft, or pixelated when printed. This usually happens due to image compression, low resolution, or insufficient DPI when the photo is enlarged for printing.
In this guide, you’ll learn exactly how to print photos from Google Photos step by step, as well as how to fix blurry or low-quality prints before printing. We’ll also cover how to improve image quality when needed to ensure sharper, more professional results.
For images that are already compressed or low-resolution, AI tools like Aiarty Image Enhancer can help restore lost details and improve resolution by upscaling images to print-ready quality, including higher DPI outputs for clearer prints.
Part 1. How to Download Photos from Google Photos
Method 1: Download and Print Manually
To print photos from Google Photos, the most universal method is to first download your selected images to your computer or mobile device. Once downloaded, you can edit them if needed and print them using your preferred printer or photo printing service.
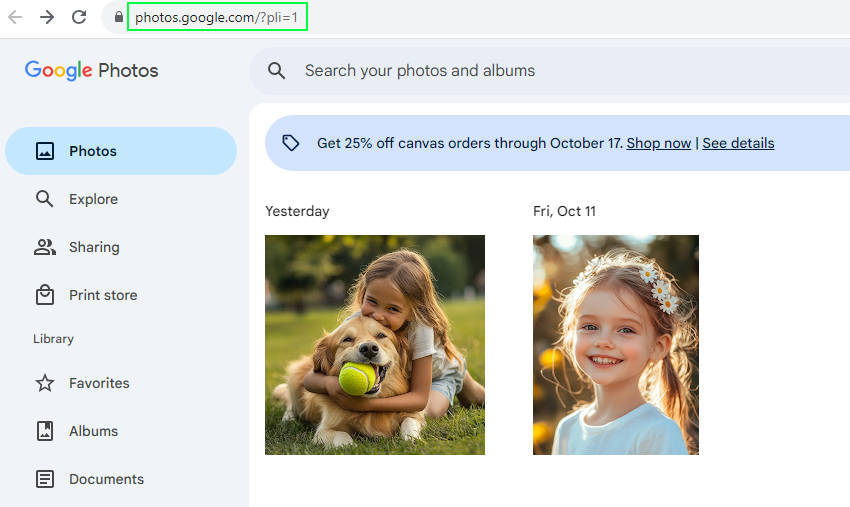
Step 1. To download photos from Google Photos for later printing, head over to https://photos.google.com/ using any web browser on your computer or mobile device. Log in if prompted.
Step 2. Navigate to the photo you want to download and print. You can browse your Photos feed or albums to select your desired images. To choose multiple photos, simply click the checkmark in the top left corner of each picture.
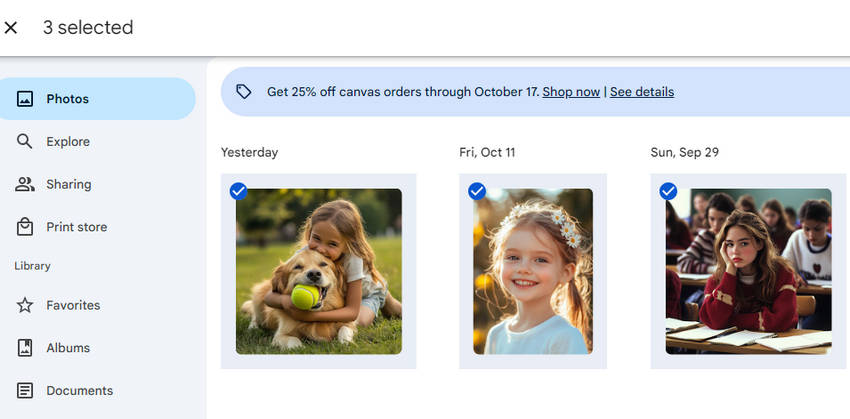
Step 3. To download the selected Google Photos images, press Shift+D or click the three-dot menu (⋮) and choose "Download."

Step 4. View the photos downloaded from Google Photos in your folder.
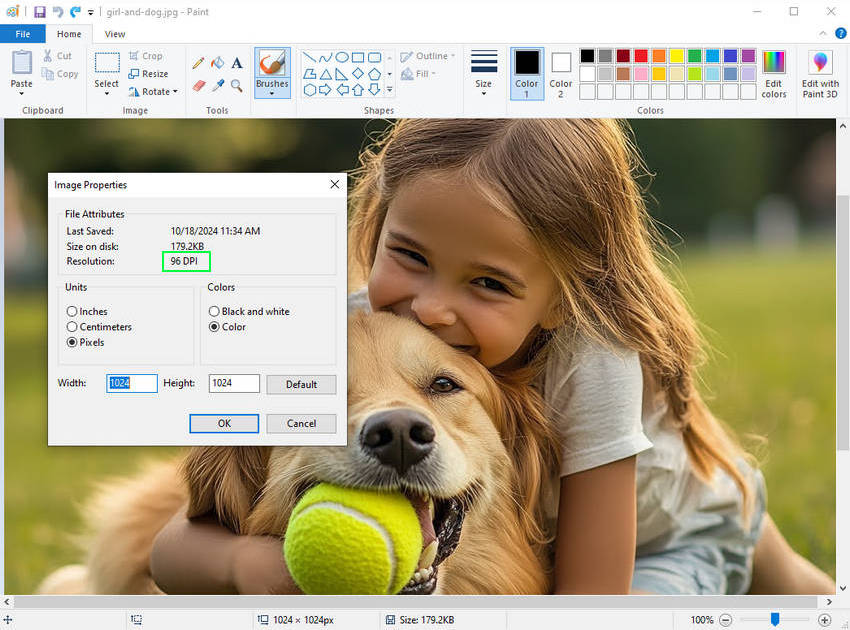
To check whether the quality is good enough to print, you can right-click on the photo and choose "Open with" > "Paint" to open it. Then click on the "File" > "Properties". Here you can find the resolution is 96 DPI only, which is far from the 300 DPI of high-quality prints.
Method 2: Use Google Photos Print Service (US only)
In some regions, you can order prints directly from Google Photos. Simply select a photo and choose Order photo to create prints, photo books, or canvas products.
Note: Even when using built-in services, print quality depends heavily on the original image resolution.
Related search: Troubleshooting blurry prints - why your printer might be printing blurry?
Part 2. Why Do Google Photos Prints Look Blurry?
If your printed photos look blurry, pixelated, or soft, you're not alone. This is one of the most common issues users face.
- Compression: Google Photos may compress images to save storage space.
- Low DPI: Downloaded images are often around 72–96 DPI, far below the 300 DPI needed for printing.
- Low Resolution: Older photos or screenshots may not have enough pixels for large prints.
- Scaling Issues: Enlarging small images causes visible pixelation.
Result: When printed, these issues lead to blurry, low-quality output.
Part 3. How to Fix Blurry Google Photos Before Printing
To get high-quality prints, it’s important to improve image resolution and clarity before printing. This typically involves increasing resolution, restoring lost details, and reducing noise or blur—all of which can be done efficiently with Aiarty Image Enhancer.
Aiarty Image Enhancer is a powerful AI-based tool designed to upscale and enhance images for better print results. It can increase resolution up to 4K, 8K, 16K, or even 32K, while reducing noise, sharpening details, and fixing pixelated images. Unlike basic resizing, it intelligently reconstructs details, helping your photos look clearer and more natural when printed.
Steps to Enhance Photos Before Printing
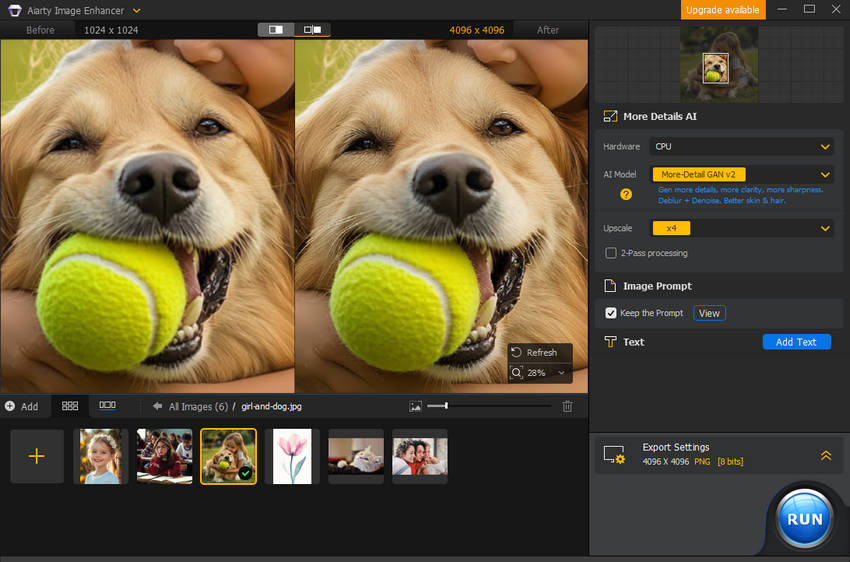
Step 1. Download and launch this lightweight yet powerful AI enhancer software.
Click the Add image button or directly drag and drop to import your downloaded images from Google Photos. Aiarty supports bulk imports, so you can process multiple images at once.
Step 2. Select AI Upscaling Model and Target Resolution.
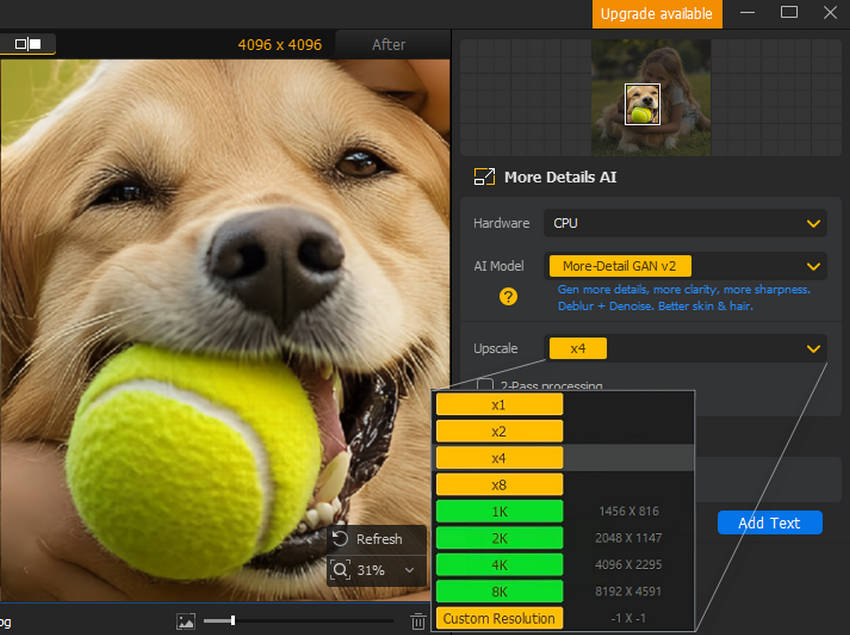
- Select from three AI models: More-detail is ideal for preserving textures like skin and fur when upscaling, Smooth Model is a good choice when you don't need the extra detail from More-Detail, and Real-Photo for restoring images to a more realistic appearance.
- Decide how much you want to enhance the resolution, like 2X, 4X, or 8X, and 1K, 2K, 4K, 8K directly.
- For even higher resolution, apply the process multiple times. Or enter a custom resolution (up to 16K on Mac, 32K on Windows) for precise control.
Step 3. Upscale Google Photos images for print.
Hit "RUN" after selecting your preferred output format (PNG or JPG) to start enhancing your image.
During the process, Aiarty not only upscales your image resolution but also automatically detects and removes imperfections such as blur, noise, and pixelation without compromising any essential details.
After enhancement, your images will have better clarity, sharper details, and improved print quality.
Before & After Comparison
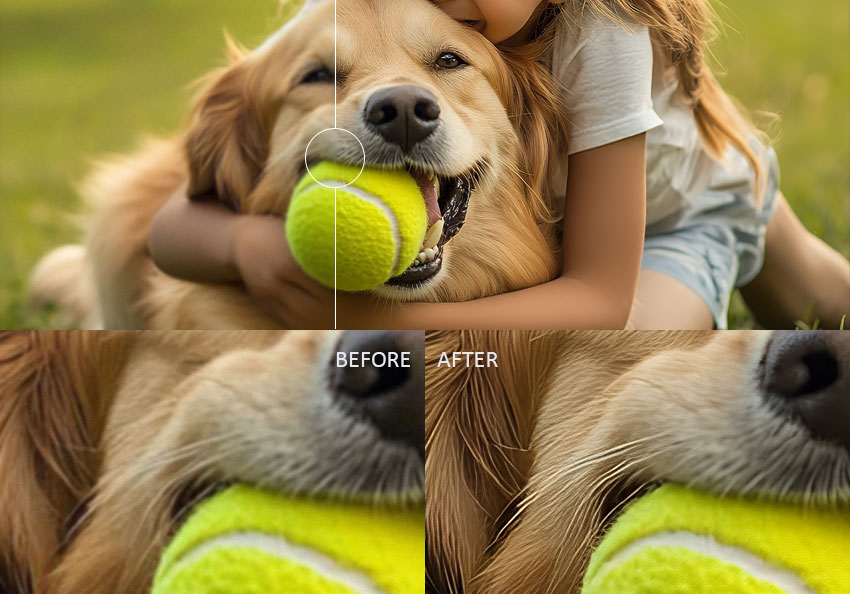
Before: When we zoomed in to 100%, the original image downloaded from Google Photos appeared overly soft and a bit blurry. The details of the hair were not very clear, and there was some noise.
After: After processing with Aiarty, the overall clarity of the image was significantly improved. Not only did it remove noise and enhance the visibility of details like hair, but it also revealed hidden details such as the texture of the tennis ball. The only downside is that the hair seems to be over-sharpened, giving it a slightly unnatural appearance.
Part 4. Best Print Settings for High-Quality Results
To get sharp, professional-looking prints, you need the right balance of DPI, resolution, and image size. These three factors work together to ensure your image stays clear and detailed when printed at your desired size.
Recommended Settings
- DPI: 300 DPI
- Resolution: At least 2400 × 3000 pixels for 8×10 prints
- Format: PNG or high-quality JPG
DPI vs Resolution vs Image Size
- DPI: Determines print sharpness and detail level
- Resolution: Total number of pixels in an image (image detail)
- Image Size: Physical print dimensions such as 4×6, 8×10, or 11×14 inches
In short, higher resolution combined with proper DPI ensures your photos remain clear and sharp when printed at different sizes.
For more detailed guidance on choosing the right print dimensions for different frame and output sizes, you can also refer to our picture frame size guide.
Final Words
Printing high-quality photos from Google Photos is not just about downloading and printing—it also depends on having the right image quality, resolution, and print settings. When these elements are optimized, your photos can look sharp, detailed, and professional in print.
If your images appear blurry, pixelated, or low-resolution, enhancing them before printing can make a significant difference. Tools like Aiarty Image Enhancer can help upscale images, reduce noise, and restore missing details so your photos are better prepared for printing.
Whether you're printing personal memories or artwork, improving image quality first ensures more consistent and satisfying print results.
- AI-powered upscaling, denoising, and deblurring
- Supports high-resolution output up to 32K
- Optimized for photos, AI art, and low-quality images
- Simple workflow with fast batch processing
 FAQs for Printing Photos from Google Photos
Yes, in some regions Google Photos allows direct printing services for photos, photo books, and canvas products. Otherwise, you can download images first and print them locally.
This usually happens due to image compression, low resolution, or insufficient DPI. When images are enlarged for printing, these issues become more noticeable.
300 DPI is the standard for high-quality photo printing, as it provides enough detail for sharp and clear results across most print sizes.
To get the best results, download your images, ensure they have sufficient resolution, and use proper print settings such as 300 DPI and high-quality paper or formats like PNG or JPG.
If your images are blurry or low-resolution, you can enhance them using AI tools to upscale resolution, reduce noise, and restore missing details before printing.
You May Also Like
Brenda Peng is a seasoned editor at Digiarty Software who loves turning ordinary photos into extraordinary works of art. With years of experience behind the lens and in front of the computer, Brenda shares her passion for photography, image enhancement, and editing through easy-to-follow tutorials.