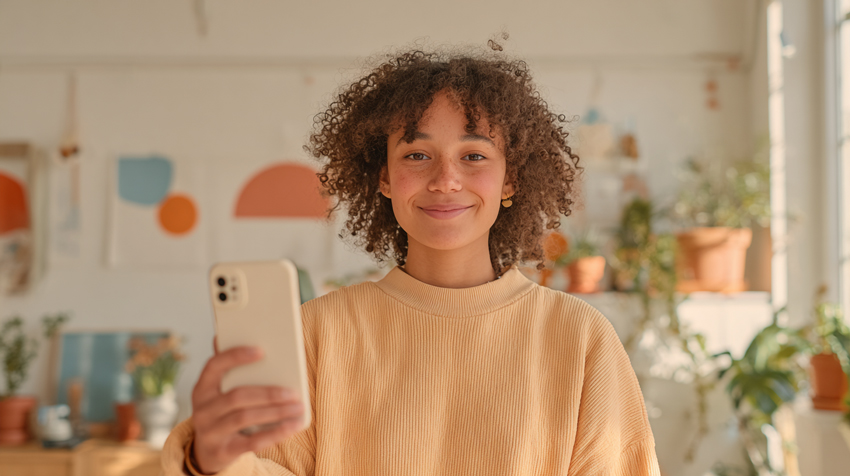
Starting a vlog has never been easier. You don't need an expensive camera, a professional studio, or thousands of followers to get started. Many successful vloggers uploaded their first videos using nothing more than a smartphone and a simple editing app.
Whether you want to document your travels, share your expertise, build a personal brand, or create content as a side hustle, this guide will show you exactly how to start a vlog in 2026. You'll learn how to choose a niche, pick the right equipment, record engaging videos, edit your footage, and grow your audience from zero.
What is Vlogging
A vlog, short for "video blog," is content that combines storytelling and video to share experiences, knowledge, opinions, or daily life with an audience. Unlike traditional blogs that rely on text and images, vlogs allow viewers to see and hear the creator directly.
Popular vlog categories include travel vlogs, lifestyle vlogs, fitness vlogs, tech reviews, study-with-me videos, gaming content, and educational tutorials. Some creators vlog for fun, while others use it to build a business, grow a community, or generate income online.
The biggest advantage of vlogging is the personal connection it creates. Viewers often follow creators not only for the information they provide but also for their personality, perspective, and storytelling style.
How to Start a Vlog in 9 Steps
Embarking on your vlogging journey can feel daunting, but by breaking it down into manageable steps, you'll be well on your way to creating compelling video content. Here's a detailed guide to get you started:
Step 1: Define Your Niche and Audience
One of the biggest mistakes beginners make is trying to create content for everyone. Successful vloggers usually focus on a specific topic or audience before expanding into broader content.
Ask yourself:
- What topics can I talk about consistently for months?
- What knowledge or experiences do I have that others may find useful?
- Who am I trying to help, entertain, or inspire?
Examples of beginner-friendly vlog niches include travel, fitness, productivity, food, technology, student life, personal finance, and creative hobbies.
Step 2: Choose the Right Vlogging Platform
Different platforms reward different types of content. Choosing the right platform depends on your goals, content style, and target audience.
If you're starting from scratch, YouTube remains the best platform for long-form vlogging because videos can continue generating views through search and recommendations for months or even years. TikTok and Instagram Reels are excellent for gaining exposure quickly, while Facebook can work well for community-driven or local content.
Step 3: Plan Your Content Strategy
Consistency and relevance are key to growing your vlog. A solid content strategy ensures you always have something valuable to share.
- Brainstorming ideas and creating a content calendar: Don't wait until you're ready to film to figure out what to say. Dedicate time to brainstorming video topics that resonate with your niche and audience. Create evergreen content that stays relevant over time, alongside timely videos. Organize these ideas into a content calendar, scheduling when you'll film, edit, and publish. This helps maintain a consistent upload schedule, which is vital for audience retention and algorithmic favorability.
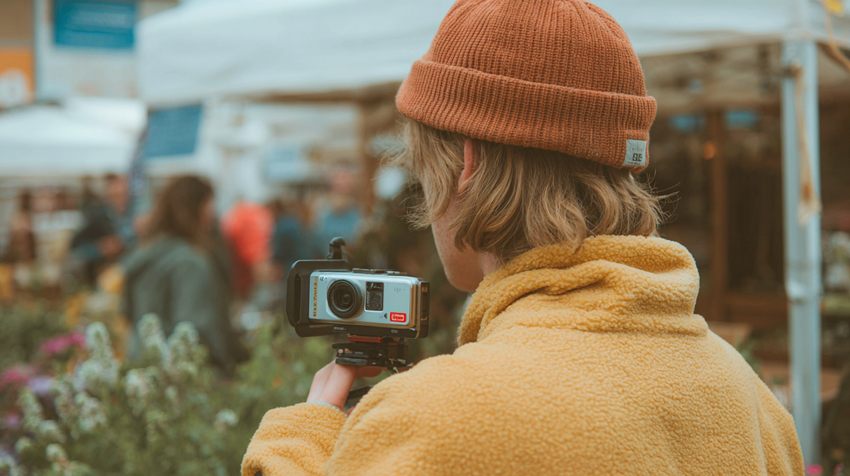
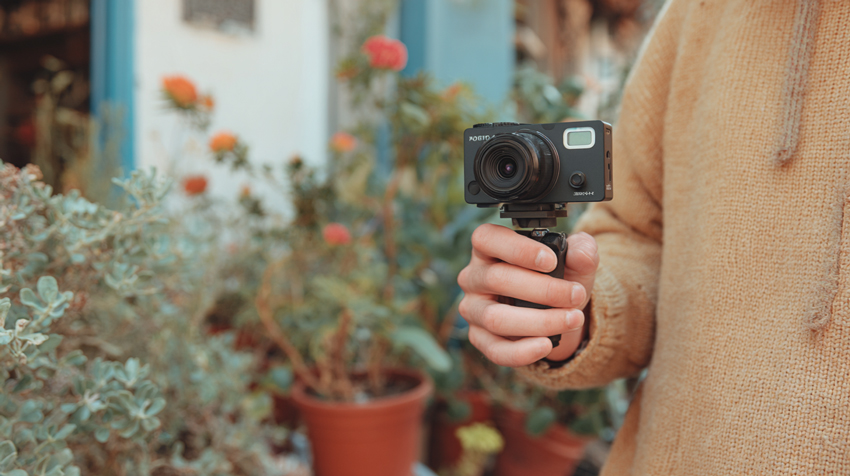
Step 4: Invest in Essential Vlogging Equipment
You can start vlogging with equipment you already own. In fact, many creators publish their first 20–50 videos before upgrading their gear.
- Budget Setup ($0-$100): Smartphone, natural light, basic tripod.
- Intermediate Setup ($300-$800): Smartphone or entry-level camera, external microphone, ring light.
- Advanced Setup ($1000+): Mirrorless camera, wireless microphone system, professional lighting.
If you only have a phone, start there. Consistency matters far more than expensive equipment when you're building your first audience.
Step 5: Set Up Your Recording Space
Your environment plays a crucial role in the look and feel of your vlogs.
- Finding a quiet, well-lit, and visually appealing location:
- Quiet: Minimize background noise. Choose a time when your home is quiet, or use sound-absorbing materials if possible.
- Well-lit: Position yourself facing a window for natural light, or use artificial lights to illuminate your face evenly. Avoid harsh overhead lighting that creates shadows.
- Visually Appealing: Your background should be clean, uncluttered, and perhaps reflect your personality or niche. A simple, consistent background helps your viewers focus on you.
Step 6: Record Engaging Content
This is where your personality shines! Being comfortable and clear on camera is key.
- Tips for Recording Better Vlogs:
- Start each video with a strong hook within the first 10 seconds.
- Remove unnecessary pauses and repetitive explanations.
- Use B-roll footage to make your story more dynamic.
- Keep the camera at eye level for a more natural connection.
- Record in a quiet environment whenever possible.
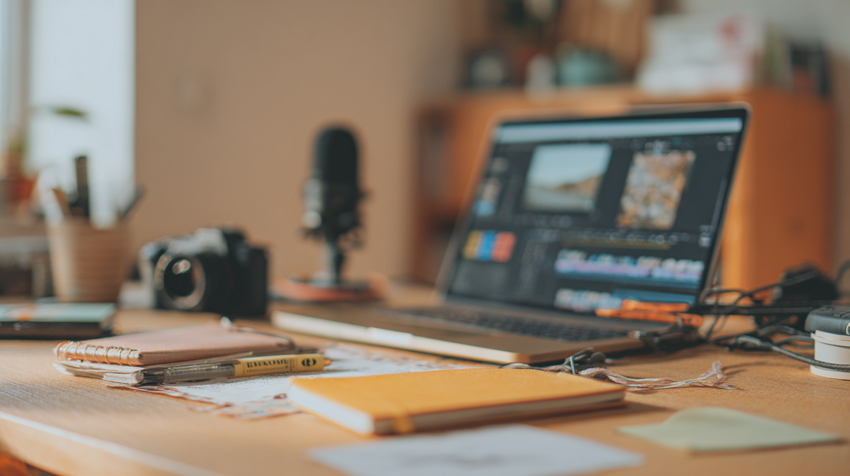
Step 7: Edit and Optimize Your Videos
Many beginner vloggers struggle with footage that looks blurry, noisy, or slightly soft, especially when recording indoors or with a smartphone. Before publishing your videos, it's worth spending a few minutes improving the visual quality.
Related Reading: 8 Best AI Video Editing Tools in 2026 (Tested and Ranked)
Best Video Enhancers can help clean up grainy footage, sharpen important details, reduce compression artifacts, and improve overall clarity without requiring advanced editing skills. It's particularly useful for travel vlogs, low-light recordings, and older footage that needs extra refinement before uploading.
- Upscale your videos without quality loss: This is perfect if you need to output your vlogs in a higher resolution (e.g., 4K) than you originally shot, or simply want sharper visuals.
- Remove blur and reduce noise: Say goodbye to shaky or grainy footage. The enhancer can clean up imperfections, making your videos look clearer and more professional.
- Eliminate artifacts: Compression artifacts or other digital distortions can detract from your video's quality. Aiarty Video Enhancer helps to smooth these out.
- Generate intricate video details: It can intelligently restore and enhance fine details that might otherwise be lost, giving your vlogs a crisp, professional finish.
Integrating a tool like Aiarty Video Enhancer into your post-production workflow can significantly improve the visual quality of your vlogs, ensuring they look their best before you hit publish. It's an excellent option for taking your content to the next level.
Step 8: Build Your Online Presence and Promote
Don't just upload and hope for the best. Proactively share your content and engage with your audience.
- Uploading, sharing on social media, and audience engagement:
- Uploading: Follow platform-specific best practices for uploading, including choosing the right categories and privacy settings.
- Social Media: Share snippets, behind-the-scenes content, and direct links to your new vlogs on platforms like Instagram, Twitter, and Facebook.
- Audience Engagement: Respond to comments, ask questions in your videos, and create polls. Building a community makes your vlogging experience more rewarding and encourages loyalty.
Step 9: Track Performance and Adapt
Data provides valuable insights into what's working and what's not.
- Analyzing analytics, learning from feedback, and continuous improvement:
- Analyzing Analytics: Dive into your platform's analytics dashboard. Pay attention to watch time, audience retention, traffic sources, and demographics. These metrics tell you how viewers are interacting with your content.
- Learning from Feedback: Read comments and direct messages. Positive feedback is encouraging, but constructive criticism can be invaluable for growth.
- Continuous Improvement: Use insights from analytics and feedback to refine your content strategy, improve your filming techniques, and adjust your editing style. Vlogging is a journey of constant learning and evolution.
 FAQs
FAQs
You can start a vlog for free using your smartphone and free editing software. Most beginners spend between $0 and $200 on basic accessories such as a tripod, microphone, or lighting.
Yes. Modern smartphones are capable of recording high-quality 1080p and 4K video. Many successful creators started with nothing more than a phone and basic editing software.
Most successful vlogs range from 5 to 20 minutes on YouTube, depending on the topic and audience. Focus on keeping viewers engaged rather than hitting a specific length.
This post was written by Brenda Peng who is a seasoned editor at Digiarty Software who loves turning ordinary photos into extraordinary works of art. With AI assistance for brainstorming and drafting, the post is reviewed for accuracy by our expert Abby Poole for her expertise in this field.