Capture One vs Lightroom is one of the most common choices photographers face when building a serious RAW editing workflow. Both can edit RAW files, organize large photo libraries, correct color, recover detail, and export professional images. But they are built around very different priorities.
Lightroom is better for most photographers who want fast editing, AI masks, cloud sync, mobile access, Photoshop integration, and a simpler all-in-one workflow. Capture One is better for studio, fashion, product, portrait, and commercial photographers who care most about tethered shooting, color precision, session-based projects, and controlled RAW output.
This updated 2026 comparison focuses on what actually affects daily editing: RAW rendering, color science, AI tools, tethering, photo management, pricing, performance, and which software is worth paying for based on your workflow.
Capture One vs Lightroom: Quick Verdict
Short Answer
- Choose Lightroom if you edit high volumes of photos, need AI-assisted masking, use Photoshop, want cloud/mobile access, or prefer a lower-friction workflow.
- Choose Capture One if you shoot tethered, work in a studio, need stronger color control, prefer session-based project folders, or deliver commercial client work.
- Use both if you manage large libraries in Lightroom but want Capture One for selected studio, product, or portrait jobs.
Capture One vs Lightroom: Quick Comparison Table
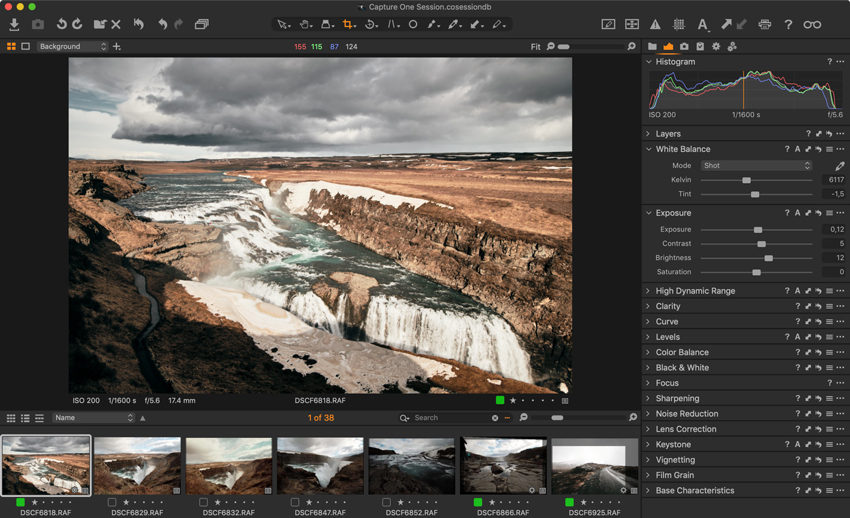
Capture One vs Lightroom: RAW Processing & Image Quality
RAW processing is where the Capture One vs Lightroom difference becomes obvious. The same file can look noticeably different before you touch any sliders because each program interprets contrast, color, highlights, and camera profiles in its own way.
Initial RAW Rendering
Capture One usually gives RAW files a more finished starting point. Images often look slightly more dimensional, with richer midtones, stronger separation between colors, and smoother highlight roll-off. For portraits, product photos, fashion shoots, and studio work, this can reduce the amount of correction needed before the image feels client-ready.
Lightroom starts from a more neutral baseline. Some files may look flatter on import, but that is also why Lightroom works so well for batch editing. It gives you a flexible, predictable starting point, especially when editing weddings, travel photos, events, or large mixed-lighting shoots.
Verdict
- Capture One: better starting point for controlled, color-sensitive work.
- Lightroom: better baseline for fast batch editing and general use.
Color Science & Skin Tones
Color is one of the biggest reasons photographers compare Capture One vs Lightroom. Capture One offers very precise control through tools like the Advanced Color Editor, Skin Tone adjustments, and layer-based color edits. It is easier to isolate a narrow color range and correct it without shifting nearby tones.
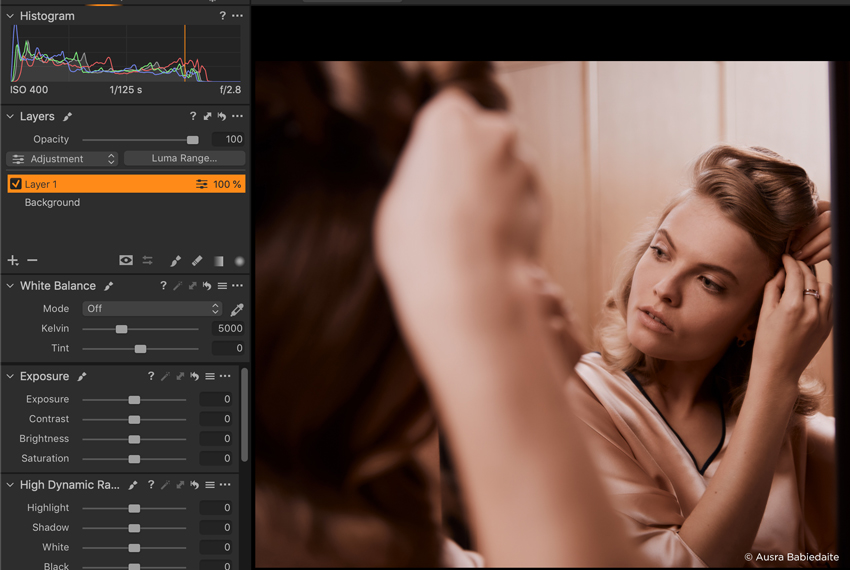
Lightroom's color tools are easier to learn and more than enough for most photographers. The Color Mixer, Point Color, profiles, and masking tools make it fast to adjust a full set. However, when working with subtle skin tones, mixed lighting, or demanding commercial color, Capture One still feels more controlled.
Verdict
- Capture One wins for skin tones, product color, and precision color grading.
- Lightroom is enough for most personal, travel, wedding, and social media work.
Dynamic Range, Highlights, and Shadow Recovery
Lightroom is excellent at quick highlight and shadow recovery. If you shoot landscapes, events, or available-light portraits, Lightroom makes it easy to recover detail from underexposed shadows or bright skies without slowing down the workflow.
Capture One is less about dramatic one-slider recovery and more about refined tonal control. Highlights often feel smoother in studio lighting, and transitions across skin, fabric, and product surfaces can look more natural after careful editing.
Verdict
- Lightroom: faster for high dynamic range recovery.
- Capture One: better for controlled lighting and polished commercial output.
💡 Need Better Output After RAW Editing?
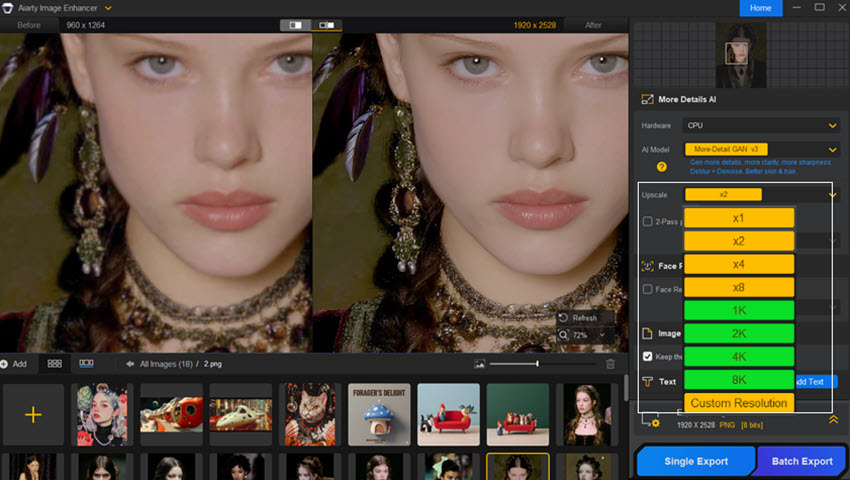
Lightroom and Capture One are RAW editors, not dedicated upscalers. If you need to enlarge cropped photos, restore old images, reduce noise, or prepare low-resolution images for print, Aiarty Image Enhancer can complement your editing workflow by upscaling and enhancing image detail after your RAW edits are complete.
This is especially useful when the final image is already edited but still needs more resolution, cleaner textures, or better detail for web, print, or client delivery.
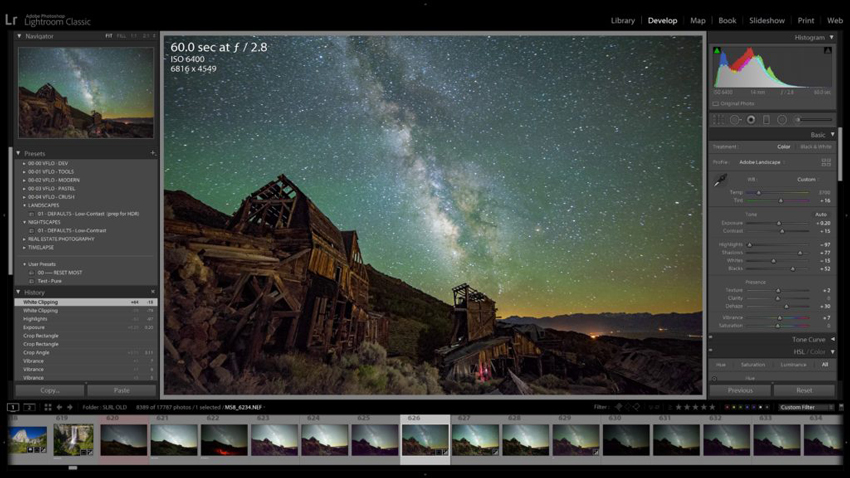
Capture One vs Lightroom: Local Adjustments & AI Editing
Local adjustments are where Lightroom and Capture One feel very different. Lightroom now leans heavily into AI-assisted editing, while Capture One still focuses on manual control, adjustment layers, and repeatable precision.
Masking and Selection: Speed vs Control
Lightroom is faster for most local adjustments. AI masks can select a subject, background, sky, face, hair, clothes, or object in seconds. For weddings, events, social content, and high-volume work, this is a major time saver.
Capture One requires more manual control. Its masks and layers take longer to build, but they are predictable, structured, and easier to manage in demanding professional edits.
- Lightroom favors speed: fast subject/background selection and one-click AI masks.
- Capture One favors control: layer-based edits with a cleaner professional structure.
Layer-Based Editing vs AI-Assisted Workflow
Capture One's adjustment layers feel closer to a professional retouching workflow. You can separate exposure, color, skin, dodge and burn, and sharpening work into different layers. That makes complex edits easier to revisit later.
Lightroom is easier when you want fast results. But in complex edits with many masks, the workflow can become harder to read than Capture One's layer stack. This does not matter much for casual editing, but it matters in commercial work where files may need revisions days or weeks later.
Capture One vs Lightroom AI Features
AI tools are now one of Lightroom's biggest advantages. If you are choosing between Capture One and Lightroom in 2026, this section matters more than it did a few years ago.
Verdict
Lightroom wins for AI tools. Capture One still wins when you want manual color precision and layer-based control, but Lightroom is clearly stronger for fast AI-assisted masking and cleanup.
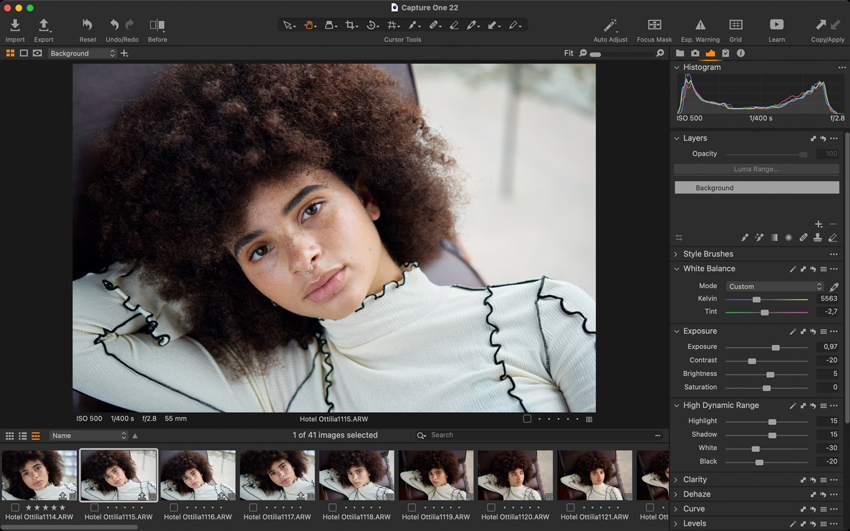
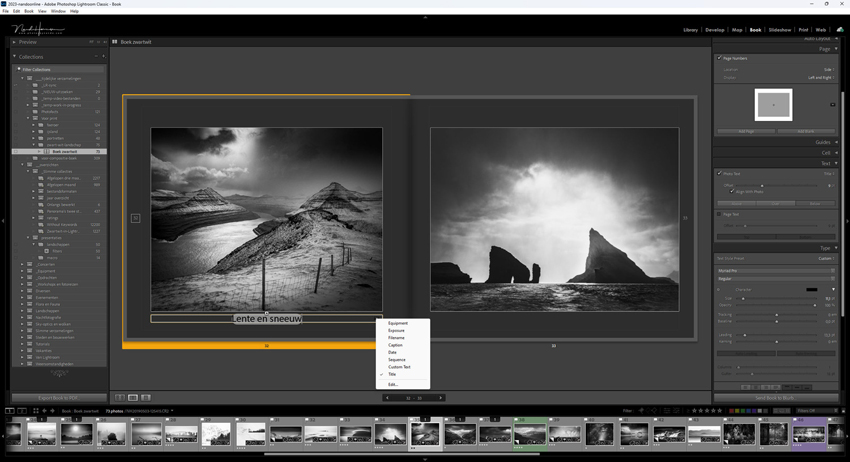
Capture One vs Lightroom: Photo Management & Professional Workflow
Editing tools matter, but photo management often decides which software is better for daily use. Lightroom is built around large searchable catalogs. Capture One is stronger when each job is treated as a contained project.
Catalogs vs Sessions: Organizing Large Projects
Lightroom's catalog system is excellent for photographers who manage years of images in one place. You can search by metadata, keywords, dates, ratings, camera, lens, location, and collections. It is especially useful for wedding, travel, landscape, event, and hobby photographers who need to find old images quickly.
Capture One offers catalogs too, but many professionals prefer its Sessions workflow. A session keeps captures, selects, output files, trash, and adjustments inside one project folder. For studio shoots, client campaigns, product photography, and retouching handoffs, that structure is cleaner than one huge catalog.
Culling, Rating, and Client Delivery
Lightroom is faster for bulk culling. Flags, stars, color labels, grid view, compare mode, smart previews, and quick develop tools make it easy to move through thousands of images quickly.
Capture One is better when culling happens inside a studio or client session. Tethered previews, variants, output recipes, naming rules, and session folders make delivery more controlled.
Cloud, Mobile, and Ecosystem
Lightroom has a major advantage if you want to edit across desktop, tablet, phone, and web. Adobe cloud sync and Photoshop integration make Lightroom the easier choice for creators who move between devices.
Capture One is more desktop-focused. That can be a limitation for travel or mobile editing, but it is also part of why studio photographers like it: the workflow is local, controlled, and less dependent on cloud behavior.
Verdict
- Lightroom wins for large libraries, search, cloud sync, and mobile editing.
- Capture One wins for session-based client jobs and controlled studio delivery.
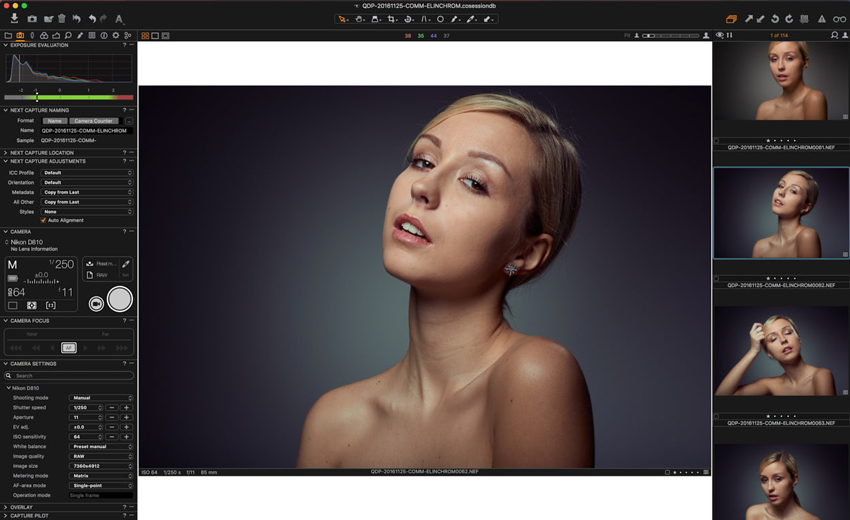
Capture One vs Lightroom: Tethered Shooting & Studio Work
Tethered shooting is one of Capture One's strongest advantages. In commercial, fashion, product, and portrait studios, clients often need to see images live on a calibrated screen. Assistants may need to apply naming rules, star selects, send previews, or prepare output folders during the shoot.
Capture One is built for this kind of workflow:
- Fast tethered capture and reliable previews.
- Strong camera control for studio work.
- Session folders that keep captures, selects, and exports organized.
- Output recipes for multiple file sizes and delivery needs.
Lightroom supports tethering, but it feels more limited. It can work for simple setups, but it is not as reliable or as flexible for demanding live client sessions.
Verdict
Capture One is the better choice for tethered shooting. Lightroom is fine for basic tethering, but Capture One is the safer option for professional studio work.
Also see: Luminar Neo vs Lightroom Performance: Real-World Editing Experience
Capture One vs Lightroom: Performance, Stability, and Long-Term Use
Both Lightroom and Capture One can handle professional RAW files, but performance depends on how you work.
Lightroom works well for large catalogs and batch workflows, especially if you use smart previews and keep your catalog optimized. It can slow down in very large catalogs or when switching between modules, but it remains the more flexible choice for long-term libraries.
Capture One often feels more predictable inside sessions because each job is contained. It performs especially well when editing a smaller, defined project with layered adjustments, tethered capture, and multiple output recipes.
Verdict
- Lightroom: better for long-term libraries and flexible cross-device work.
- Capture One: better for contained professional jobs and heavy studio sessions.
Capture One vs Lightroom Pricing Comparison
Pricing changes often, so always check the official pages before buying. As of 2026, Adobe's Lightroom plans remain subscription-based, while Capture One offers both subscription and perpetual-license options.
Pricing Verdict
Lightroom usually offers better overall ecosystem value because Photoshop, cloud storage, mobile apps, and AI tools are part of the Adobe workflow. Capture One costs more for many users, but the perpetual-license option can be attractive if you prefer owning a specific version instead of staying on a subscription.
Which Should You Choose: Capture One or Lightroom?
Choose Lightroom If...
- You want the easiest RAW editing workflow.
- You edit large volumes of photos from weddings, travel, events, or daily shoots.
- You rely on AI masks, AI Denoise, Generative Remove, or fast batch editing.
- You want Photoshop integration.
- You need cloud sync, mobile editing, and access across devices.
- You manage a large long-term photo library.
Choose Capture One If...
- You shoot tethered in a studio.
- You work in fashion, product, beauty, portrait, or commercial photography.
- You care deeply about color precision and skin tones.
- You prefer session-based project folders for client work.
- You want more manual control over local adjustments and color grading.
- You want the option of a perpetual license.
Final Verdict
For most photographers, Lightroom is the better all-around choice. It is easier to learn, faster for batch editing, stronger in AI features, and more useful if you already use Photoshop or edit across multiple devices.
For studio and commercial photographers, Capture One is still the stronger professional tool. Its color control, tethered shooting, session workflow, and polished RAW rendering make it better for controlled client work where consistency matters more than speed.
 Capture One vs Lightroom FAQs
Capture One is better for tethered shooting, color precision, studio workflows, and commercial client projects. Lightroom is better for most photographers because it offers faster AI editing, easier organization, cloud sync, mobile apps, and Photoshop integration.
Many professionals use Capture One because it offers excellent tethered shooting, strong color tools, reliable session-based organization, and refined RAW rendering. These strengths are especially useful in fashion, beauty, product, portrait, and commercial studios.
Yes. Lightroom is generally easier for beginners because the interface is simpler, AI tools speed up common edits, and the catalog system is easier for organizing everyday photo libraries.
Capture One has added more smart editing features, but Lightroom is still stronger for AI-assisted workflows such as subject masks, background masks, people masks, AI Denoise, Lens Blur, and Generative Remove.
Capture One can replace Lightroom if your workflow is mostly studio-based or project-based. However, Lightroom is harder to replace if you depend on cloud sync, mobile editing, Photoshop integration, or one large searchable catalog.
Capture One is worth the money for photographers who rely on tethering, color control, and commercial studio workflows. For casual users or high-volume creators, Lightroom often offers better overall value.
Many Fujifilm users like Capture One because of its RAW rendering and color handling, especially for portraits and studio work. Lightroom has also improved a lot and is usually the better choice if you want AI tools, mobile editing, and a simpler library workflow.
Lightroom is usually better for wedding photographers because it is faster for culling, batch editing, AI masking, syncing presets, exporting galleries, and managing large event libraries.
Capture One is usually better for studio photographers because tethered shooting, session folders, color control, output recipes, and client preview workflows are stronger than Lightroom's studio workflow.
You May Also Like
This post was written by Brenda Peng who is a seasoned editor at Digiarty Software who loves turning ordinary photos into extraordinary works of art. With AI assistance for brainstorming and drafting, the post is reviewed for accuracy by our expert Abby Poole for her expertise in this field.