Wildlife Photographer's Stories with Aiarty
Explore how Aiarty Image Enhancer serves both personal and professional needs - from fixing heavy crops and blurry images to restoring excessive noise in wildlife photography.


Bill Maynard is an award-winning wildlife photographer and the creative force behind coolwildlife.com. He uses Aiarty Image Enhancer to handle the two most common challenges wildlife photographers face in their post-processing: unblurring and noise reduction. Discover the story below. You can also visit his website for professional insights, tools, and techniques from the field.
As a wildlife photographer, I rely on tools that enhance my images while staying true to the natural beauty of my subjects. Aiarty Image Enhancer excels in this regard, providing powerful AI-driven enhancements that refine image quality and reduce noise without excessive manual intervention. For photographers who want a hassle-free, AI-powered enhancement tool that delivers high-quality results, Aiarty Image Enhancer is a solid investment.
Use Case – Heavy Crop/Blurry Image
Original Photo: A Blue Jay that requires upscaling due to a heavy crop and a soft, blurry focus.
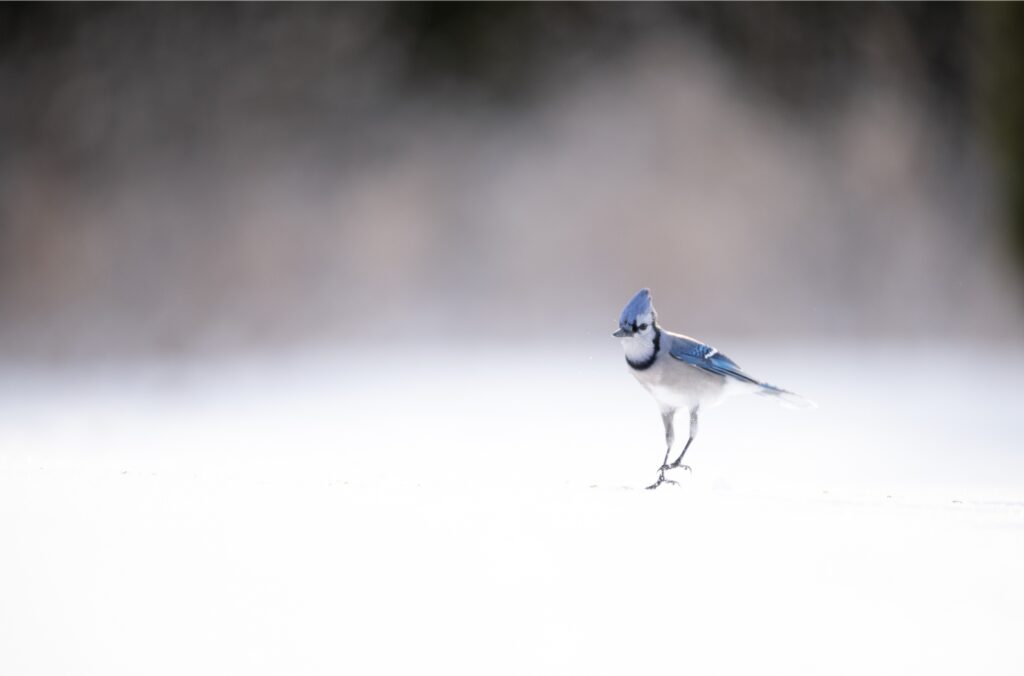
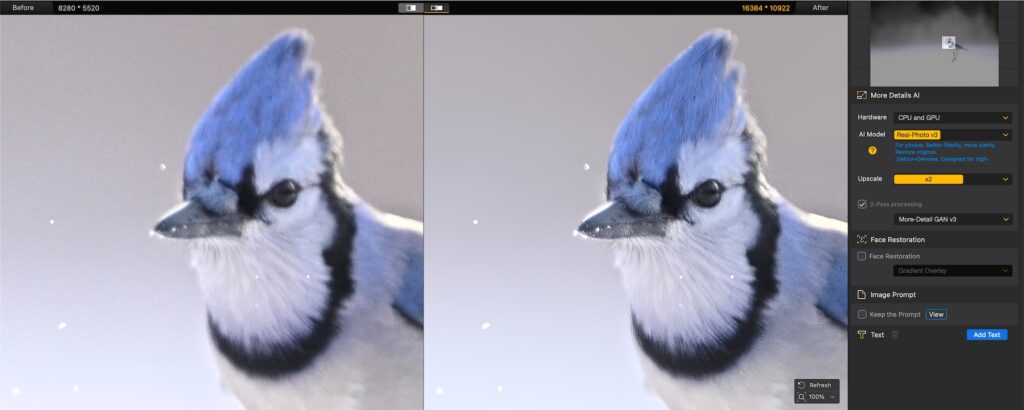
Below is the upscaled and unblurred photo. This is how the photo was processed:
- First try: Selected Real-Photo v3 as the AI model, then upscaled x2.
- Second try: Reloaded the image, selected More-Detail GAN v3 as the AI model, upscaled x2, and checked the 2-pass option.
- Result: The final image is significantly sharper, and the feather details have been rendered with much more clarity.
More Use Cases – Excessive Noise Reduction


Tips for Large Image Files, Such as Wildlife Photographs
"RECOMMENDED SETTING CHANGE: Given wildlife photographers are dealing with large image file sizes there is one setting that I recommend you change. Go to the settings menu found in the top left hand corner, click on Aiarty Image Enhancer and scroll down until you see Max tile size. By setting this to Auto you’ll get the very best results for large image file sizes."

A Note on this Story:
This story is shared with the kind permission of Bill Maynard. All featured images remain the exclusive property of coolwildlife.com. We deeply respect the photographer's work and have used these visuals solely for the purpose of this feature.